Imagine unboxing a shiny new iPad 9th Gen. Exciting, right? This sleek device can become your favorite tool for learning and fun!
You might wonder how to set it up. Don’t worry; we’ve got you covered! Our iPad 9th Gen setup guide will make everything simple and clear.
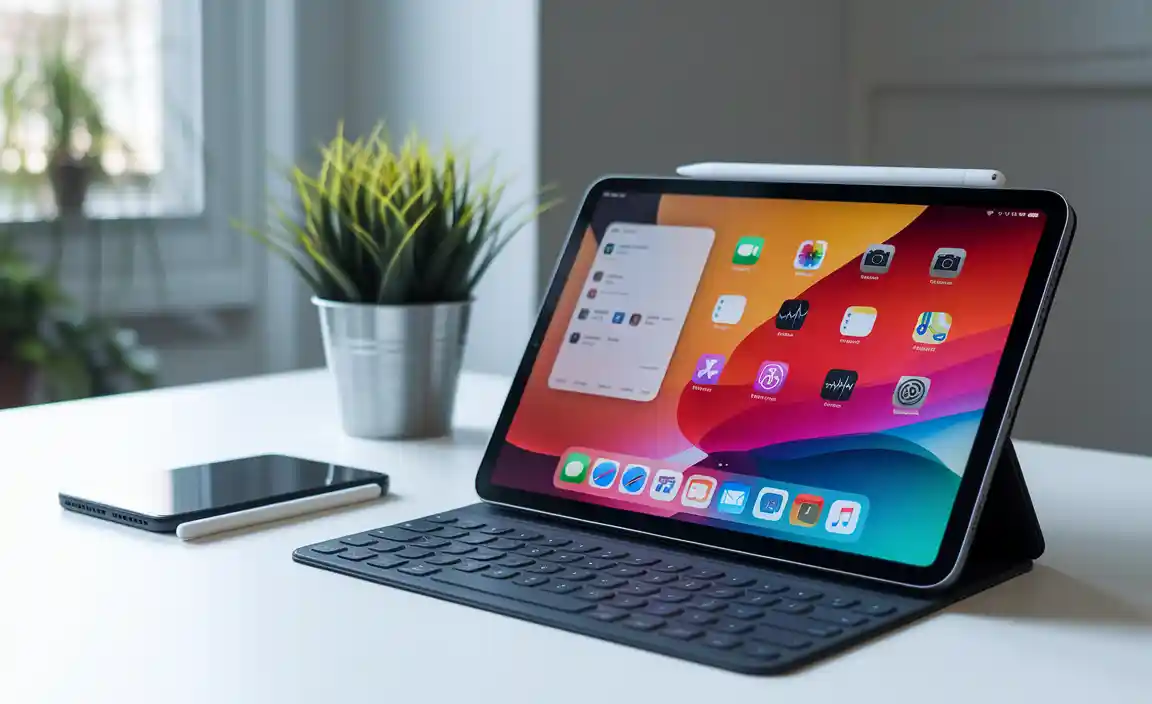
Did you know that the iPad 9th Gen offers amazing features? It lets you browse the internet, play games, and even draw! With the right setup, you’ll unlock its full potential.
Are you ready to dive in? Let’s explore how to set up your iPad 9th Gen step by step. By the end, you’ll feel like a pro!
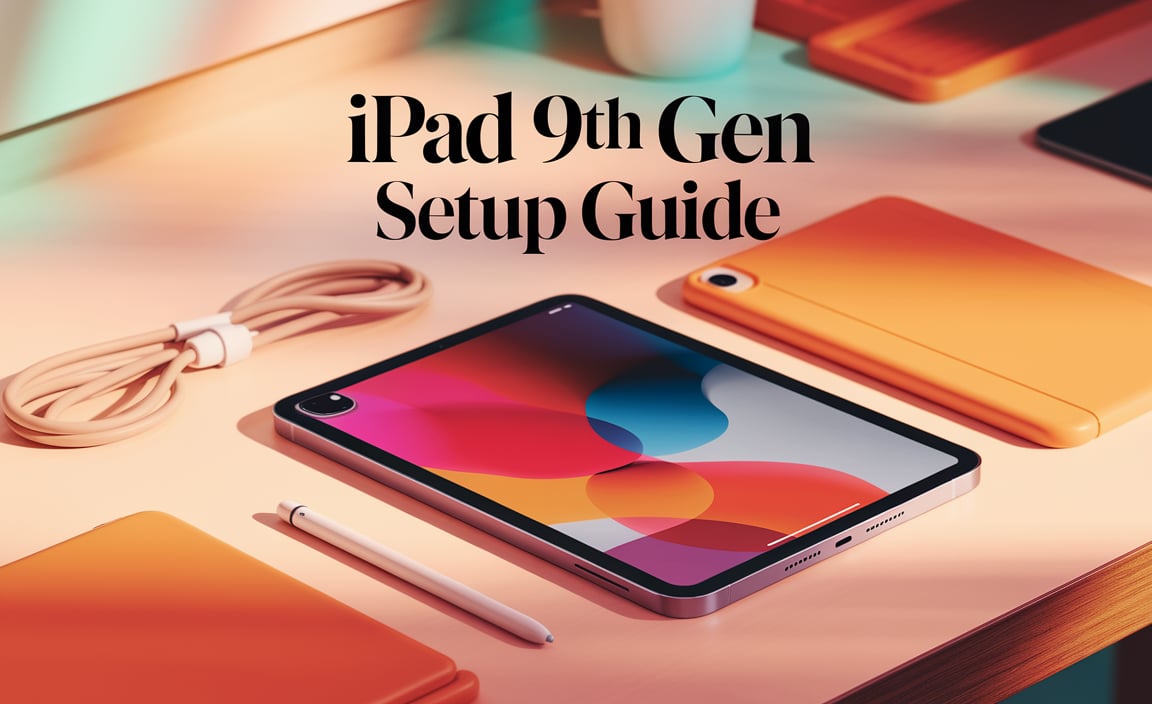
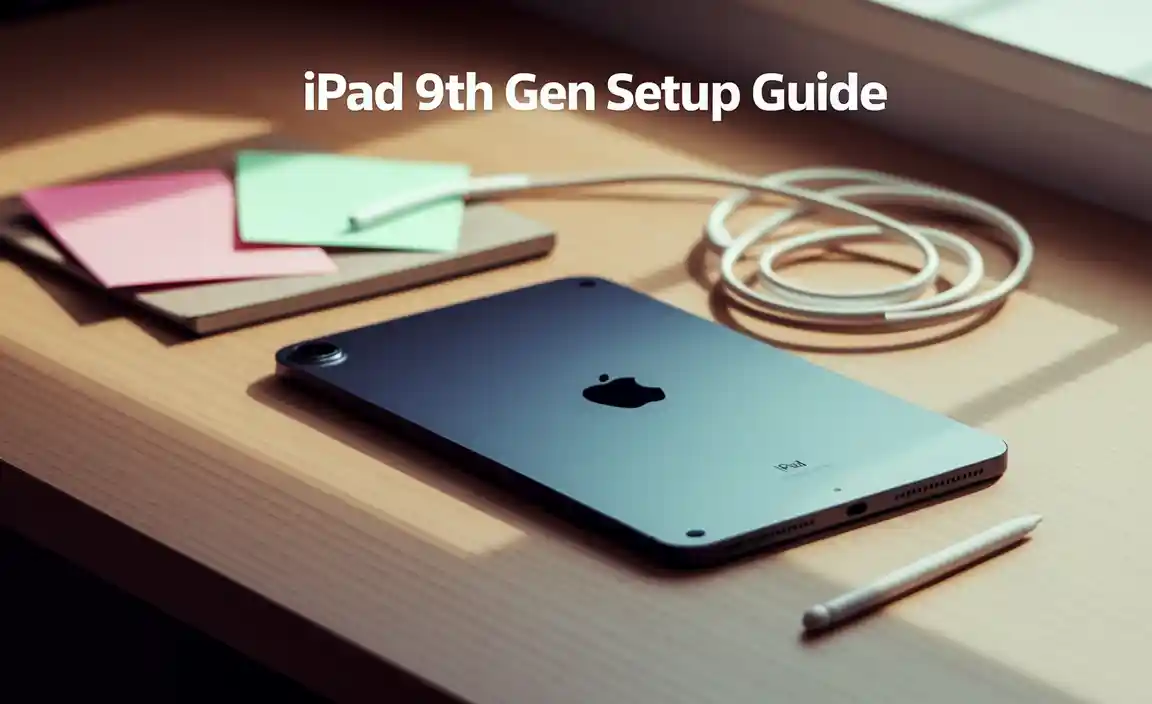
Ipad 9Th Gen Setup Guide: Step-By-Step Instructions To Get Started
Setting up your iPad 9th gen is simple and fun! Start by charging your device fully. Next, power it on and follow the on-screen prompts for language and Wi-Fi selection. Did you know you can use Face ID or Touch ID for security? After signing into your Apple ID, explore the App Store to discover games, books, and more. Each step opens a world of possibilities, making your new device exciting and easy to use. Happy exploring!
Unboxing Your iPad 9th Gen
What’s included in the box. First impressions and build quality.
Opening the box of your new iPad 9th generation is exciting. Inside, you will find:
- The iPad itself
- A charging cable
- A power adapter
- Some quick start guides
The first look at the iPad is impressive. It feels sturdy and well-made. The sleek design and bright screen catch your eye. This iPad is not only powerful but also lightweight. You can easily carry it anywhere!
What are the key features of the iPad 9th generation?
The iPad 9th generation features a 10.2-inch display, A13 Bionic chip, and supports Apple Pencil and Smart Keyboard, making it versatile for work and play.
Initial Setup Process
Stepbystep guide to powering on. Connecting to WiFi and completing the setup.
To start using your new iPad, follow these easy steps:
- Press and hold the power button on the top edge until the Apple logo appears.
- Choose your language and region from the list on the screen.
- Connect to WiFi by selecting your home network and entering the password.
- Follow the prompts to complete the setup process.
Now your iPad is ready! Enjoy exploring all its features.
How do I connect my iPad to WiFi?
Select your WiFi network from the list shown, enter the password, and tap ‘Join’. Your iPad will connect automatically!
Setting Up Apple ID
Importance of Apple ID for usability. How to create or sign in to your Apple ID.
Having an Apple ID is like having a magic key to your iPad. It unlocks all the fun features! With your Apple ID, you can download apps, buy movies, and even save your photos in the cloud. Without it, your iPad is just a fancy paperweight! To create an Apple ID, go to Settings, tap “Sign In,” then “Create Apple ID.” Follow the prompts, and voilà, you’re in! Already have one? Just sign in using your email and password. Easy peasy, right? Just don’t forget your password—losing it is like losing ice cream on a hot day!
| Step | Action |
|---|---|
| 1 | Go to Settings |
| 2 | Tap “Sign In” |
| 3 | Select “Create Apple ID” |
| 4 | Follow the prompts |
Configuring Basic Settings
Adjusting display and brightness settings. Setting up Touch ID or Passcode.
To configure your iPad’s basic settings, start by adjusting the display and brightness. Go to Settings and choose Display & Brightness. Here, you can change the brightness level and enable Night Shift for eye comfort at night. Next, set up Touch ID or a Passcode for security. This helps keep your iPad safe. Go to Touch ID & Passcode in Settings and follow the prompts. It’s quick and easy!
Why is setting up Touch ID or Passcode important?
Setting up Touch ID or a Passcode is important for protecting your information. If someone tries to use your iPad, they will be stopped right away. This keeps your photos and apps safe.
Key Steps:
- Open Settings.
- Select Touch ID & Passcode.
- Follow instructions to add your fingerprint or create a Passcode.
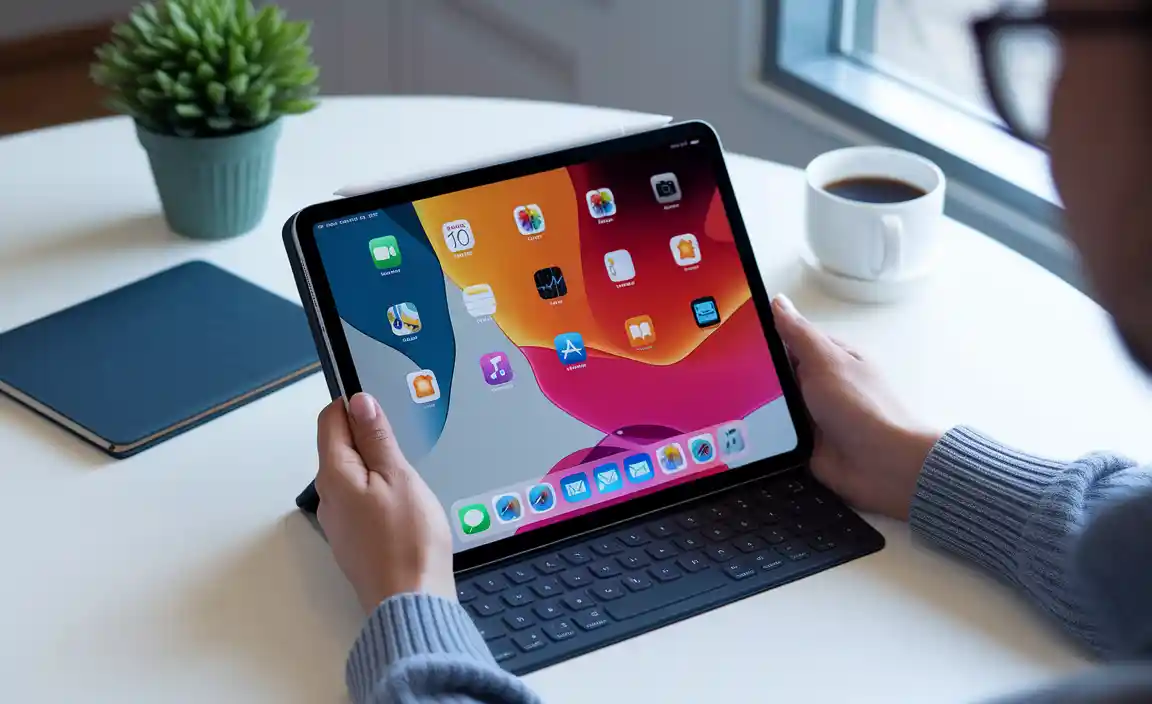
Personalizing Your iPad
Customizing wallpaper and themes. Organizing apps and using the App Library.
Make your iPad feel like it’s truly yours! Start by choosing a fun wallpaper. Go to Settings, then Wallpaper, and pick a picture that makes you smile. Nothing says “me” like a cat in a space suit. Next, organize your apps like a pro. You can toss them into folders or let the App Library do the work for you. With all your apps ready to go, you’ll have more time for games and less time searching. Who doesn’t love that?
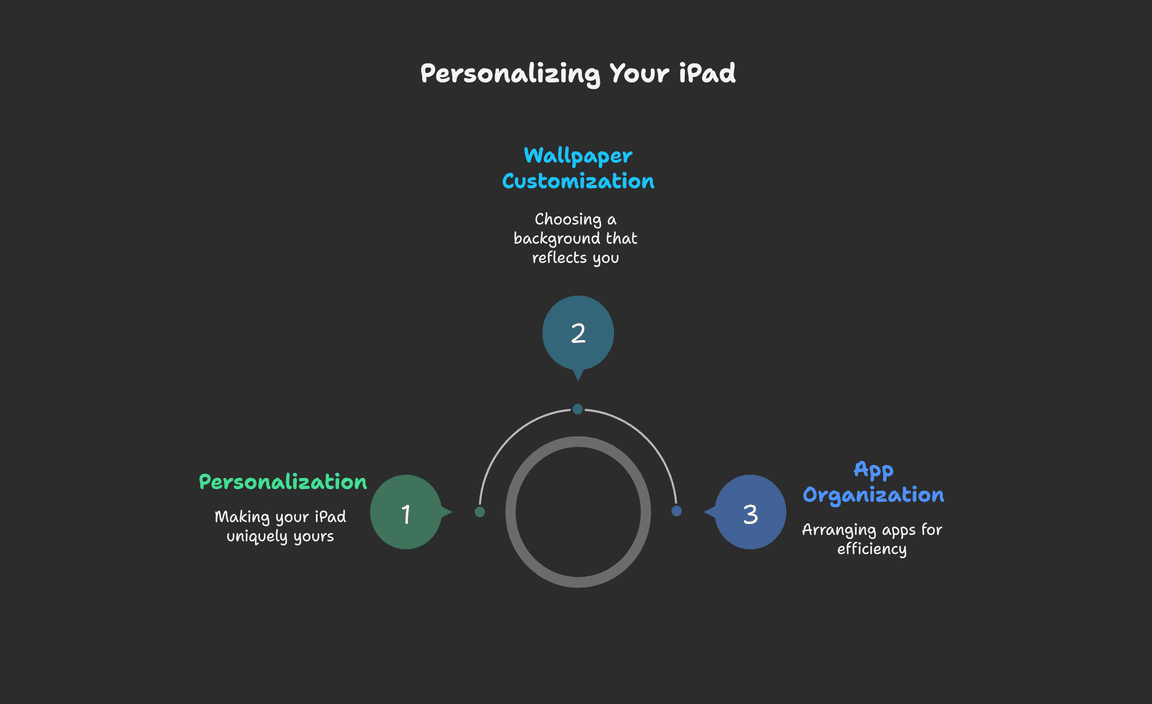
| Customizing | Tips |
|---|---|
| Wallpaper | Choose something fun! |
| App Organization | Use folders or let App Library help. |
Installing Essential Apps
Recommended apps for productivity and entertainment. How to download and update apps.
Using apps on your iPad can make life easier and more fun. Here are some must-have apps for work and play:
- Microsoft Office for documents and spreadsheets.
- Google Drive to store files safely.
- Netflix or Disney+ for great movies.
- Duolingo to learn new languages.
To download these apps, go to the App Store. Tap on the search bar, type the app’s name, and press get. To keep your apps updated, go back to the App Store, visit your account, and check for updates. Your iPad will always have the latest features!
How do you download and update apps?
To download apps, use the App Store. For updates, check the updates section in the App Store regularly.
Utilizing Important Features
Exploring Split View and Slide Over multitasking. Understanding widgets and notifications.
Using Split View and Slide Over can make your iPad even better. Split View lets you see two apps at the same time. For example, you can watch a video while chatting with a friend. Slide Over helps you quickly check another app without leaving the main one. Widgets make information easy to reach. You can see weather, calendar events, and news all on your screen. Notifications keep you updated on messages and alerts. Watch for what’s important!
How do I use Split View and Slide Over?
To use Split View, swipe from the right edge of the screen to open an app. Slide Over lets you open another app without losing the first one.
Tips
- Start two apps at once
- Swipe between them easily
- Check widgets for fast info
Setting Up Family Sharing
Benefits of Family Sharing. How to set it up and manage shared resources.
Family Sharing makes it easy to share apps, music, and more with everyone in your family. You can keep track of expenses and manage purchases on your devices. Each family member can enjoy their own Apple ID while still sharing resources.
To set it up:
- Open Settings.
- Tap on your name at the top.
- Choose “Set Up Family Sharing.”
- Follow the prompts to add family members.
With Family Sharing, you can:
- Share subscriptions and resources.
- Stay informed about screen time.
- Find each other’s devices.
What are the benefits of Family Sharing?
Family Sharing helps families save money and stay connected. Families can share purchases while keeping their personal accounts safe. It’s a great way to make sharing easy and fun.
Troubleshooting Common Setup Issues
Common problems during initial setup and solutions. Resources for further assistance.
Setting up your iPad can be exciting, but hiccups can happen. Sometimes, your iPad might not turn on or connect to Wi-Fi. If you see a spinning wheel of doom, take a breath and try restarting it. Don’t worry! These problems are common, and solutions are quick. Below you’ll find some helpful issues and their fixes. If you still need help, check Apple’s support page or visit your local store. Ready for some fun troubleshooting?
| Problem | Solution |
|---|---|
| iPad won’t turn on | Press and hold the power button until the Apple logo appears. |
| Wi-Fi connection issues | Make sure Wi-Fi is on and reconnect to your network. |
| Forgot password | Use the “Forgot Password” option on the lock screen. |
Maintenance and Updates
Keeping your iPad updated with the latest iOS. Best practices for maintaining device performance.
To keep your iPad running well, always update to the latest iOS. This helps protect your device and improves performance. Regular maintenance can also keep your iPad fast.
- Check for updates weekly.
- Restart your iPad monthly.
- Manage storage by deleting unused apps.
- Clear browser history regularly.
These steps can help your iPad work smoothly and stay secure. Your device will thank you!
How do I update my iPad?
Go to Settings, tap General, then select Software Update. Follow the prompts to install any available updates.
Conclusion
In summary, the iPad 9th Gen setup is simple and fun. You can start by charging your iPad and connecting to Wi-Fi. Follow the on-screen instructions to sign in or create an Apple ID. Explore the App Store to find your favorite apps. For more tips, check out additional guides online. Enjoy your new device!
FAQs
What Are The Initial Steps To Take When Setting Up An Ipad 9Th Generation For The First Time?
To set up your iPad 9th generation, first take it out of the box. Press the round button on the front to turn it on. Then, choose your language and country. Next, connect to Wi-Fi by picking your network and entering the password. Finally, follow the instructions on the screen to finish the setup!
How Do I Connect My Ipad 9Th Gen To Wi-Fi During The Setup Process?
To connect your iPad 9th gen to Wi-Fi during setup, first turn on your iPad. You will see a list of Wi-Fi networks. Tap the name of your Wi-Fi network. Then, enter the password if needed. Finally, tap “Join,” and your iPad will connect to the internet!
What Accounts And Settings Do I Need To Configure During The Ipad 9Th Gen Setup?
During the iPad 9th gen setup, you need to set up your Apple ID. This is your special account for using apps, music, and more. You can also connect to Wi-Fi, which is the internet for your iPad. Make sure to choose your settings for privacy, like if you want to share your location. Lastly, you can set up a passcode to keep your iPad safe.
How Can I Transfer Data From My Old Device To My Ipad 9Th Gen During The Setup?
To move data from your old device to your new iPad 9th generation, start by turning on your iPad. Follow the setup steps on the screen. When you see “Apps & Data,” choose “Transfer from iPhone” or “Transfer from Android.” Make sure both devices are close together. Follow the instructions on both screens to finish moving your stuff!
What Should I Do If I Encounter Issues Or Errors While Setting Up My Ipad 9Th Generation?
If you see problems while setting up your iPad 9th generation, don’t worry! First, try restarting your iPad by holding the power button. If that doesn’t fix it, check your Wi-Fi connection. You might also try to reset the iPad by holding the power and volume buttons together. If nothing works, ask an adult for help or go to Apple’s website for support.
Resource
- Apple iCloud Overview: https://support.apple.com/en-us/HT201104
- Apple ID Account Management Help: https://support.apple.com/apple-id
- Parental Controls on Apple Devices: https://support.apple.com/en-us/HT201304
- iOS Multitasking Features: https://support.apple.com/en-us/HT207582
{“@context”:”https://schema.org”,”@type”: “FAQPage”,”mainEntity”:[{“@type”: “Question”,”name”: “What Are The Initial Steps To Take When Setting Up An Ipad 9Th Generation For The First Time? “,”acceptedAnswer”: {“@type”: “Answer”,”text”: “To set up your iPad 9th generation, first take it out of the box. Press the round button on the front to turn it on. Then, choose your language and country. Next, connect to Wi-Fi by picking your network and entering the password. Finally, follow the instructions on the screen to finish the setup!”}},{“@type”: “Question”,”name”: “How Do I Connect My Ipad 9Th Gen To Wi-Fi During The Setup Process? “,”acceptedAnswer”: {“@type”: “Answer”,”text”: “To connect your iPad 9th gen to Wi-Fi during setup, first turn on your iPad. You will see a list of Wi-Fi networks. Tap the name of your Wi-Fi network. Then, enter the password if needed. Finally, tap Join, and your iPad will connect to the internet!”}},{“@type”: “Question”,”name”: “What Accounts And Settings Do I Need To Configure During The Ipad 9Th Gen Setup? “,”acceptedAnswer”: {“@type”: “Answer”,”text”: “During the iPad 9th gen setup, you need to set up your Apple ID. This is your special account for using apps, music, and more. You can also connect to Wi-Fi, which is the internet for your iPad. Make sure to choose your settings for privacy, like if you want to share your location. Lastly, you can set up a passcode to keep your iPad safe.”}},{“@type”: “Question”,”name”: “How Can I Transfer Data From My Old Device To My Ipad 9Th Gen During The Setup? “,”acceptedAnswer”: {“@type”: “Answer”,”text”: “To move data from your old device to your new iPad 9th generation, start by turning on your iPad. Follow the setup steps on the screen. When you see “Apps & Data,” choose “Transfer from iPhone” or “Transfer from Android.” Make sure both devices are close together. Follow the instructions on both screens to finish moving your stuff!”}},{“@type”: “Question”,”name”: “What Should I Do If I Encounter Issues Or Errors While Setting Up My Ipad 9Th Generation? “,”acceptedAnswer”: {“@type”: “Answer”,”text”: “If you see problems while setting up your iPad 9th generation, don’t worry! First, try restarting your iPad by holding the power button. If that doesn’t fix it, check your Wi-Fi connection. You might also try to reset the iPad by holding the power and volume buttons together. If nothing works, ask an adult for help or go to Apple’s website for support.”}}]}
Your tech guru in Sand City, CA, bringing you the latest insights and tips exclusively on mobile tablets. Dive into the world of sleek devices and stay ahead in the tablet game with my expert guidance. Your go-to source for all things tablet-related – let’s elevate your tech experience!