Yes, the RCA Tablet 7 Voyager officially supports SD card expansion, allowing you to increase storage for apps, photos, and videos. This guide will show you how to verify its compatibility and get the most out of your RCA Tablet 7 Voyager’s storage.
RCA Tablet 7 Voyager: Proven SD Card Support Explained for Beginners
Are you looking to expand the storage on your RCA Tablet 7 Voyager? It’s a common quest for tablet users, especially when you start downloading more apps, taking lots of photos, or saving videos. The good news is, you’ve come to the right place to get clear answers! Many people wonder if their RCA Tablet 7 Voyager can even handle an SD card, and if so, how to make it work. It can be a bit confusing with all the different tablet models out there, but don’t worry. Here at Tabletzoo, we break down the technical stuff into easy-to-understand steps. We’ll walk you through exactly what you need to know to ensure your RCA Tablet 7 Voyager’s SD card support is working perfectly, so you can enjoy more space for all your digital adventures. Get ready to unlock more storage!
Understanding SD Card Support on the RCA Tablet 7 Voyager
The RCA Tablet 7 Voyager, like many budget-friendly tablets, offers a way to boost its internal storage by using a microSD card. This is fantastic news because it means you’re not limited by the device’s built-in memory alone. When a tablet supports SD card expansion, it means it has a dedicated slot designed to read and write data from a microSD card, essentially acting as an extended storage drive for your device.
This capability is crucial for a device like the 7 Voyager, which typically comes with limited internal storage. Without SD card support, you’d quickly find yourself deleting apps or files when you run out of space. With it, however, you can:
- Store more photos and videos taken with the tablet’s camera.
- Download a larger library of music and movies for offline viewing.
- Install more apps and games without constantly managing storage space.
- Move some app data and files to the SD card to free up internal storage.
How to Physically Insert and Recognize an SD Card
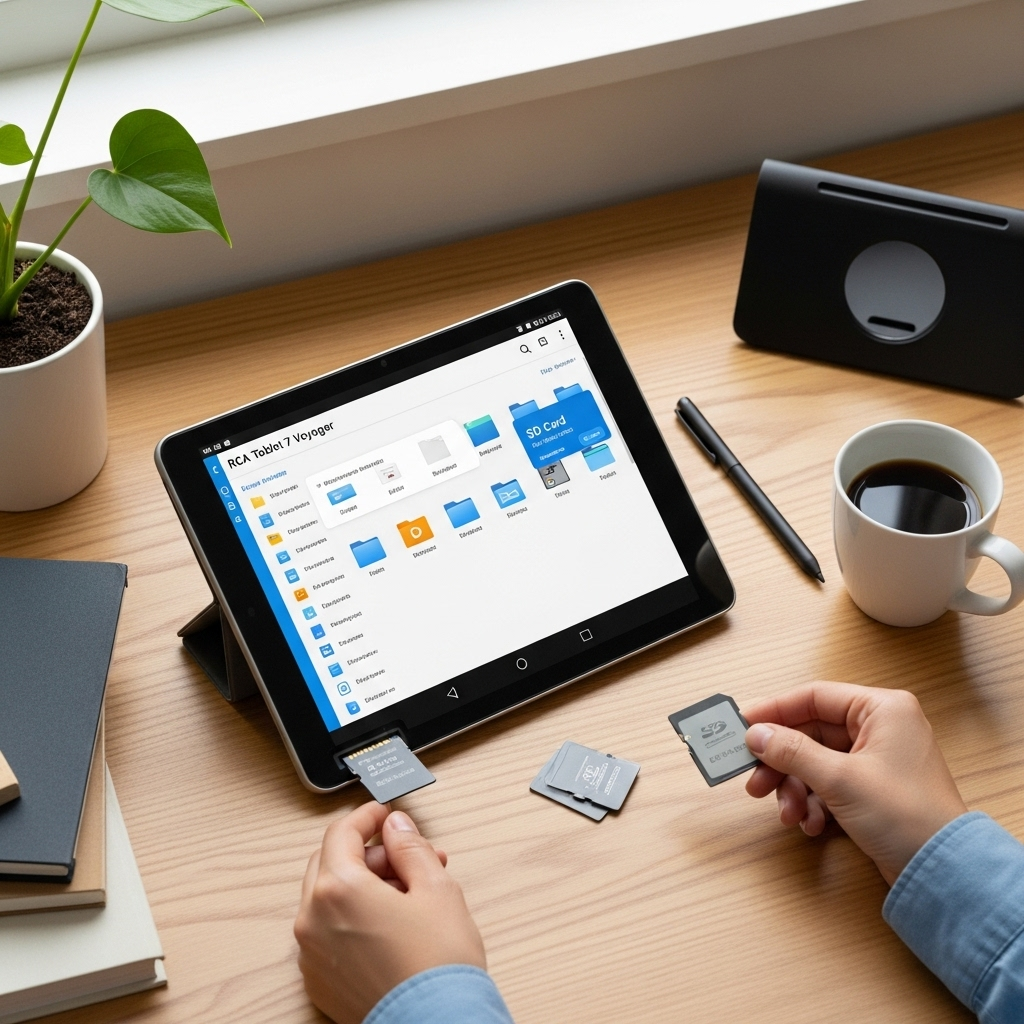
Locating the SD card slot on your RCA Tablet 7 Voyager might be the first hurdle. It’s usually found on one of the edges of the tablet, often near other ports like the charging port or headphone jack. It might be a small, labeled slot, sometimes requiring you to gently insert a SIM ejector tool or a small, thin object to pop out a tray, or it could be an open slot that the card slides directly into.
Here’s a general guide on how to insert an SD card:
- Power off your tablet: It’s always best practice to insert or remove an SD card when the tablet is completely shut down to prevent data corruption.
- Locate the SD card slot: Check the sides and top/bottom edges of your RCA Tablet 7 Voyager. Look for a small icon that resembles a micro SD card (a tiny rectangle with a diagonal cut on one corner).
- Access the slot: Some models have a flip-open cover, while others have a tray that needs to be ejected. If it’s a tray, you’ll likely need a SIM ejector tool, a paperclip, or a very small, stiff piece of metal to press into the tiny hole next to the slot. This will push the tray out gently.
- Insert the SD card: Note the orientation of the SD card. It usually has a specific way it fits into the slot – the gold contacts should typically face downwards or towards the inside of the tablet. Don’t force it; if it doesn’t slide in easily, try flipping it.
- Close the tray/cover: If you removed a tray, carefully reinsert it until it clicks into place. If it’s a cover, close it securely.
- Power on your tablet: Once the card is inserted, turn your tablet back on.
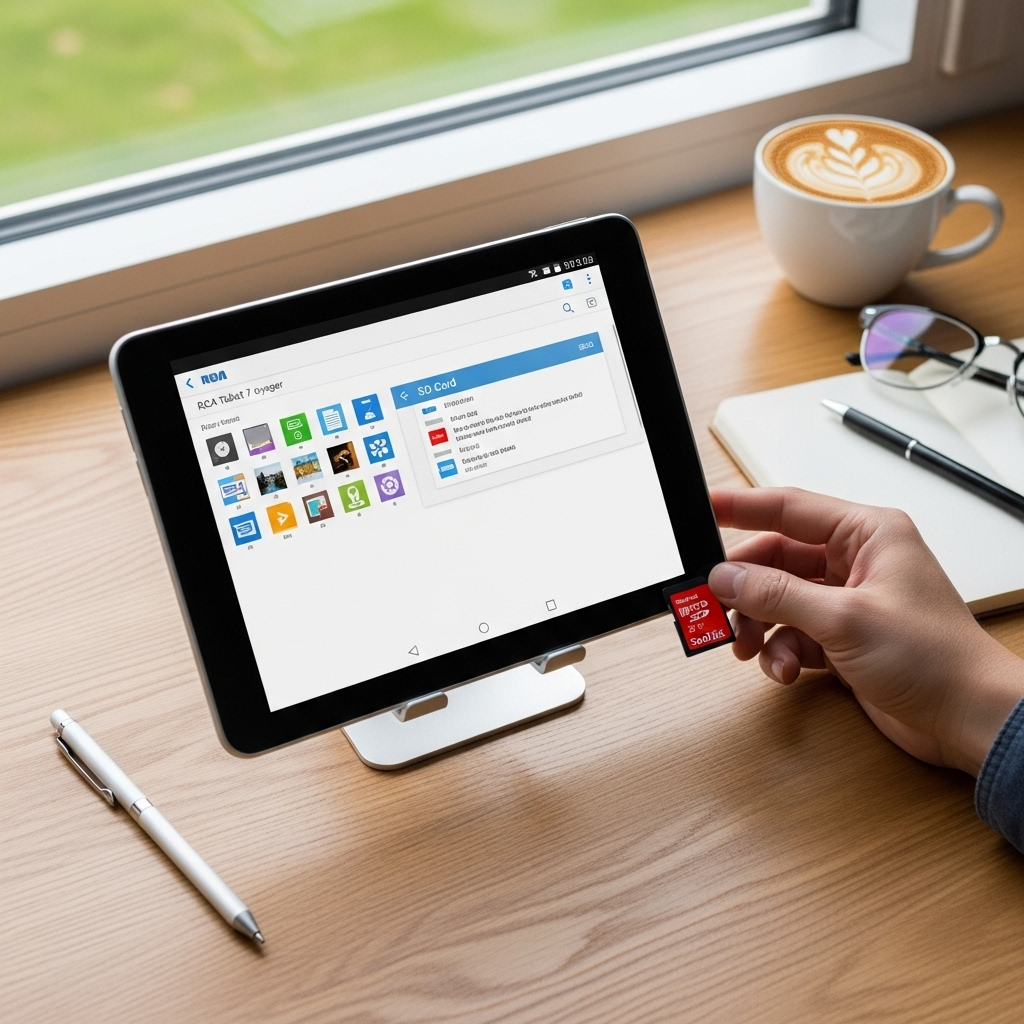
After your tablet boots up, it should automatically recognize the SD card. You might see a notification indicating that an SD card has been inserted or formatted. To confirm, go to your tablet’s Settings app, then look for a section related to Storage or Device Storage. You should see your internal storage listed, followed by the capacity of your inserted microSD card.
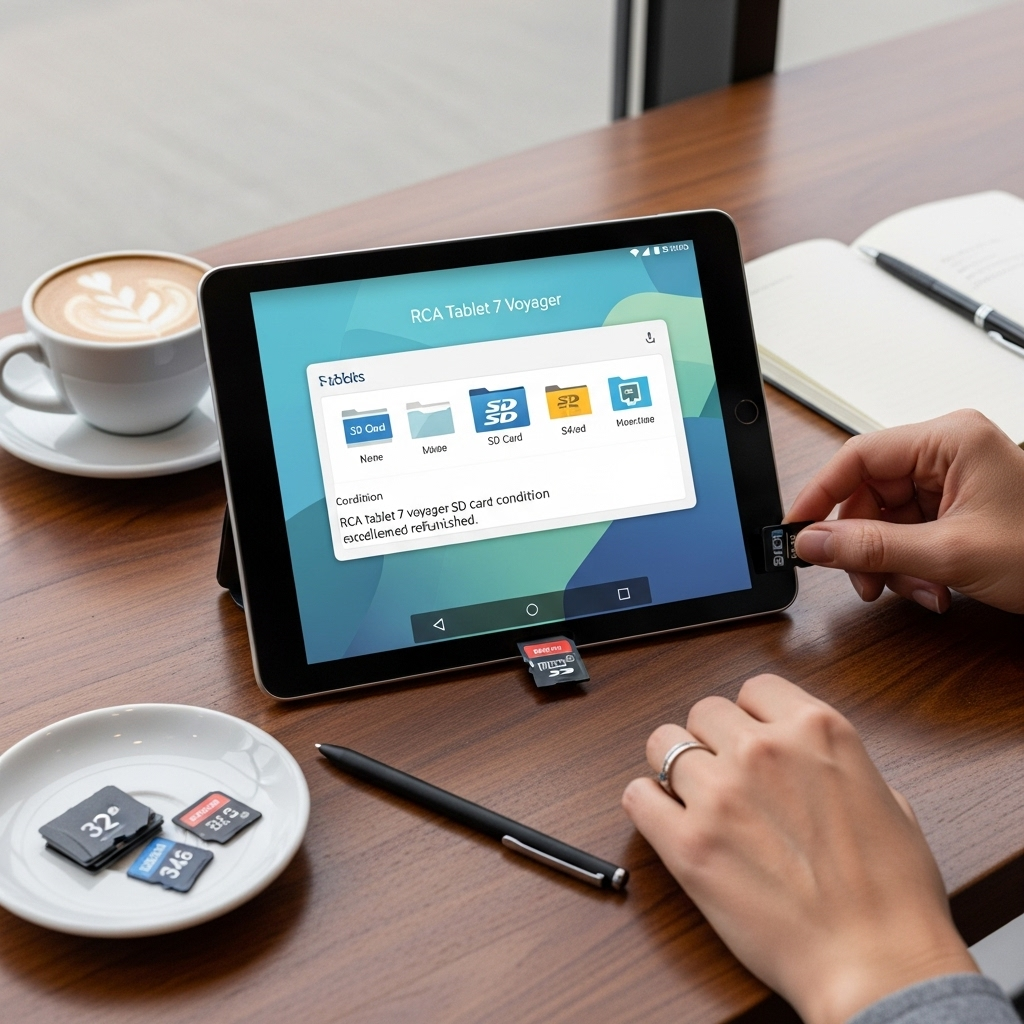
Choosing the Right SD Card for Your RCA Tablet 7 Voyager
Not all SD cards are created equal, and for your RCA Tablet 7 Voyager, you’ll want to pick one that’s both compatible and offers a good balance of speed and storage capacity. Generally, you’ll be looking for microSD cards, as these are the standard for most tablets and smartphones.
SD Card Types and Capacities
There are different types of microSD cards based on their storage capacity and speed class. For the RCA Tablet 7 Voyager, these are the most relevant:
- microSD: Standard capacity, up to 2GB. Unlikely to be enough for most users today.
- microSDHC (High Capacity): Ranges from 4GB to 32GB. These are very common and a good starting point if you only need a modest storage boost.
- microSDXC (Extended Capacity): Ranges from 64GB up to 2TB (though commercially available capacities are usually 1TB or less). If you plan to store a lot of media or many apps, these are your best bet.
Important Note: While theoretically, the RCA Tablet 7 Voyager might support even larger capacities, it’s generally recommended to stick to cards that are commonly used and tested with similar devices. For many tablets in this class, microSDHC (up to 32GB) and microSDXC (up to 128GB or 256GB) are usually well-supported and offer the best value without compatibility issues. Always check the tablet’s official specifications or user manual if you want to be absolutely sure about the maximum supported capacity.
SD Card Speed Classes
Speed is also important, especially if you plan to install apps directly on the SD card or record high-definition video. SD cards are denoted by speed classes:
- Class 2, 4, 6: Suitable for basic storage and transferring files.
- Class 10: Offers faster read/write speeds, good for HD video recording and running apps.
- UHS Speed Class 1 (U1) and UHS Speed Class 3 (U3): These are part of the Ultra High Speed bus interface and offer significantly faster performance, crucial for 4K video and demanding applications.
- Video Speed Class (V10, V30, V60, V90): Designed for video recording, with V30 being a good standard for Full HD and 4K recording.
For the RCA Tablet 7 Voyager, a Class 10 or UHS Speed Class 1 (U1) card is usually sufficient and provides a noticeable improvement over slower cards. A 32GB or 64GB microSDHC/microSDXC card with at least Class 10 or U1 speed would be a great choice for most users.
Where to Find Reliable SD Cards
When buying SD cards, it’s wise to purchase from reputable retailers to avoid counterfeit or low-quality products. Major online stores like Amazon, Best Buy, or directly from brands like SanDisk, Samsung, or PNY are generally safe bets. Always check reviews and look for established brands.
Formatting Your SD Card (If Necessary)
Sometimes, an SD card might not work right out of the box, or you might be reusing a card from another device. In these cases, formatting the card can resolve compatibility issues. Formatting an SD card erases all its contents, so make sure you’ve backed up any important data first.
Why Format an SD Card?
- Compatibility: Ensures the card is formatted in a file system understandable by your RCA Tablet 7 Voyager. Android devices typically use exFAT or FAT32.
- Error Correction: Can fix minor errors or corruption on the card.
- Clean Slate: Gives you a fresh start, ensuring no old data conflicts with the tablet’s operation.
Formatting on Your RCA Tablet 7 Voyager
The easiest way to format an SD card for your tablet is to do it directly on the tablet itself. This ensures it’s formatted in the correct file system.
- Insert the SD card: Make sure the microSD card is properly inserted into the slot.
- Open Settings: Navigate to your tablet’s Settings app.
- Find Storage: Scroll down and tap on Storage or Device Storage.
- Select SD Card: You should see your internal storage and the SD card listed. Tap on the SD card entry.
- Tap “Format”: Look for an option that says Format SD card or Erase SD card.
- Confirm Formatting: The tablet will warn you that all data will be erased. Confirm your decision.
The formatting process usually takes a few moments. Once complete, your SD card will be ready to use for storing files and apps on your RCA Tablet 7 Voyager.
Formatting on a Computer
If you prefer or need to format the SD card on a computer (Windows or macOS), you can do so as well. Ensure you have a microSD card reader or adapter.
On Windows:
- Insert the microSD card into your computer’s card reader.
- Open File Explorer.
- Right-click on the SD card drive (it might appear as ‘Removable Disk’).
- Select Format….
- Under File system, choose exFAT (recommended for cards larger than 32GB) or FAT32 (for smaller cards).
- Leave Allocation unit size as default.
- Type a Volume label if you wish (e.g., “TabletSD”).
- Ensure Quick Format is checked.
- Click Start and then confirm by clicking OK.
On macOS:
- Insert the microSD card into your Mac’s card reader.
- Open Disk Utility (Applications > Utilities > Disk Utility).
- Select your microSD card from the sidebar on the left (make sure to select the card itself, not just the volume under it).
- Click the Erase button.
- Give your card a Name (e.g., “TabletSD”).
- Choose the Format as ExFAT or MS-DOS (FAT) – typically, ExFAT is preferred for larger cards.
- Choose Scheme as Master Boot Record for broad compatibility, or GUID Partition Map if you’re sure your tablet supports it. (Master Boot Record is usually the safest bet for older or simpler devices).
- Click Erase.
After formatting on a computer, safely eject the card and insert it into your RCA Tablet 7 Voyager. Your tablet should then recognize it.
Setting Your SD Card as Default Storage (App & Data)
One of the most significant benefits of SD card support is the ability to use it as storage for apps and their data, not just photos and videos. This is often referred to as “Adoptable Storage” or “Portable Storage” in different Android versions, though the RCA Tablet 7 Voyager’s Android version may have limitations.
Depending on the specific Android version running on your RCA Tablet 7 Voyager, you might have two primary ways to use the SD card:
1. Portable Storage (Most Common for RCA 7 Voyager)
In this mode, the SD card is treated as a separate drive. You can manually move photos, videos, music, and documents to it. Some apps might also allow you to specify the SD card as a storage location for their downloads or media. This is the standard and most reliable way the RCA Tablet 7 Voyager uses an SD card.
To manually move files:
- Open the Files app or a similar file manager on your tablet.
- Navigate to your internal storage and find the files you want to move.
- Long-press on a file or folder to select it, then tap the “Move” or “Copy” option.
- Navigate to your SD card storage within the file manager and paste the files there.
2. Adoptable Storage (Less Common, Depends on Android Version)
Some newer Android versions (usually Android 6.0 Marshmallow and above) allow you to “adopt” or “format” the SD card as internal storage. When adopted, the SD card is encrypted and merged with your tablet’s internal storage, effectively making it part of your device’s main memory. This allows you to install apps directly onto the SD card, and the system manages storage automatically.
To set up Adoptable Storage (if available):
- Insert the SD card and power on the tablet.
- You should receive a notification prompting you to set up the SD card. Tap it.
- Alternatively, go to Settings > Storage.
- Tap on the SD card.
- Look for an option like “Use as internal storage” or “Format as internal”.
- Follow the on-screen prompts. The card will be erased and encrypted.
Important Caveat: Many budget tablets, including older RCA models, might not fully support Adoptable Storage for apps, or it might be disabled by the manufacturer. The RCA Tablet 7 Voyager is more likely to function as a “Portable Storage” device. This means you’ll primarily use it for media files and downloads, with the option to manually move some app data if the app allows.
If you want to install apps directly onto the SD card and your tablet only supports portable storage, you might need to look into more advanced methods like using specific apps that can move app data (often requiring root access, which is not recommended for beginners) or checking if individual apps have an option within their settings to store data on an external card.
Troubleshooting Common SD Card Issues
Even with proven support, you might run into a hiccup. Here are some common problems and how to fix them:
SD Card Not Detected
Possible Causes:
- Card not inserted correctly.
- Card is dirty or damaged.
- Card is not formatted in a compatible format.
- Tablet’s software glitch.
- Card is faulty.
Solutions:
- Power off the tablet, remove and reinsert the SD card, ensuring it’s fully seated and oriented correctly.
- Ensure the card contacts are clean. You can gently wipe them with a soft, dry cloth.
- Try formatting the SD card (either on the tablet or a computer).
- Restart your RCA Tablet 7 Voyager.
- Try a different SD card to see if the problem is with the card itself.
“SD Card is Corrupt” or “SD Card Needs Formatting” Errors
Possible Causes:
- Card was removed abruptly while being used.
- Power loss during a write operation.
- Physical damage to the card.
- Incompatible file system.
Solutions:
- If prompted by the tablet, proceed with formatting the card. This will erase all data.
- If formatting fails or the error persists, try formatting with a computer using the “Disk Utility” or “Disk Management” tools.
- If the card continues to show errors, it might be failing and best replaced.
Slow Performance
Possible Causes:
- Using a very slow SD card (e.g., Class 4 or lower).
- The SD card is nearly full, impacting write speeds.
- The card is fragmented (less common on Android).
- The tablet itself is struggling to keep up with data transfer.
Solutions:
- Upgrade to a faster SD card (Class 10, U1, or U3).
- Free up space on the SD card by moving files or deleting unneeded data.
- Avoid filling the card to its absolute maximum capacity.
Maximizing Storage with Your RCA Tablet 7 Voyager
Once your SD card is working, here are some tips to make the most of the expanded storage:
- Set Camera App to Save to SD Card: Most camera apps have a setting to choose where to save photos and videos. Find this in your camera app’s
Your tech guru in Sand City, CA, bringing you the latest insights and tips exclusively on mobile tablets. Dive into the world of sleek devices and stay ahead in the tablet game with my expert guidance. Your go-to source for all things tablet-related – let’s elevate your tech experience!