Have you ever wondered why some artists seem to fly through their work so effortlessly? One secret is how they set up their tools. If you own a Wacom tablet, you might have a hidden superpower right at your fingertips. The way you set up your Wacom tablet buttons can make a huge difference. Imagine being able to do cool tricks with just a click!
Think about a superhero who has just discovered a new power. That’s you with your Wacom tablet. But how do you unlock this power? It’s easier than you might think. Setting up your Wacom buttons in the best way turns drawing into an exciting journey.
Picture yourself saving time so you can create more amazing art. Who wouldn’t want that? Let’s dive in and see how you can set up your Wacom tablet buttons for the best results. Your future self will thank you!
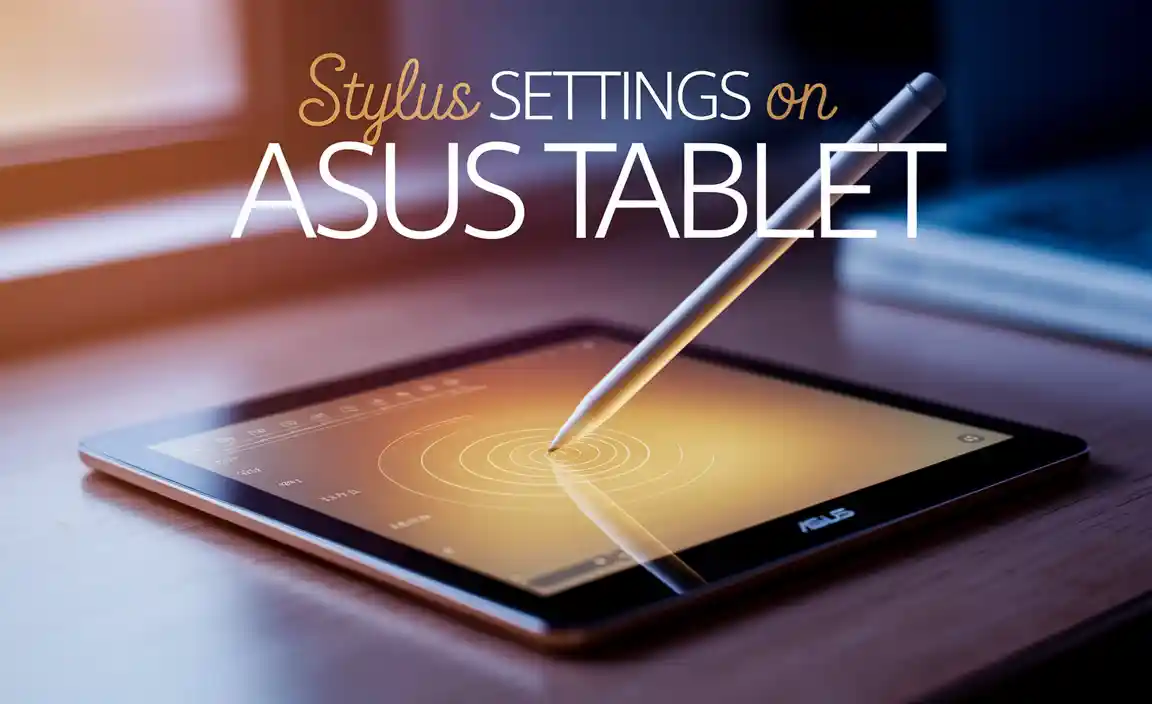
The Best Way To Setup Your Wacom Tablet Buttons
Imagine transforming your digital art experience with a few simple tweaks. When you properly set up your Wacom tablet buttons, everything becomes smoother and faster. Why spend extra time with every brush stroke? Customize your buttons for easy access. Think about shortcuts you often use. Assign them to your tablet buttons. It’s like having secret superpowers at your fingertips! Switching tools without leaving the canvas keeps you focused and inspired. Ready for a creative boost?
Software Installation and Setup
Downloading and installing the latest Wacom drivers. Walking through the initial setup process.
First, visit the Wacom website. Look for the drivers page. Download the latest drivers for your tablet. Once downloaded, open the file. Follow the steps to install it. If you see any instructions, read them carefully. Restart your computer after the installation. A setup wizard will guide you after restarting. It will help you configure basic settings. This is important for your tablet to work well.
How can I make sure my Wacom drivers are up to date?
Check the Wacom website regularly for updates. You can also enable automatic updates through the Wacom desktop app. Keeping drivers current ensures the tablet runs smoothly.
Customizing Shortcut Keys for Different Applications
Setting applicationspecific shortcuts for programs like Photoshop, Illustrator, etc.. Examples of commonly used shortcuts for digital artists and designers.
How do you customize shortcut keys for different programs?
To make the most of your Wacom tablet, you must set up specific shortcuts for each application you use. In programs like Photoshop, you can add shortcuts like Ctrl + Z to undo mistakes. In Illustrator, you might set a button for Ctrl + G to group objects. Changing these shortcuts helps digital artists work faster and more creatively.
Customizing your tablet buttons for different applications saves time and boosts creativity. Here’s a list of shortcuts often used by digital artists:
- Photoshop: Zoom In (Ctrl + =), Brush Tool (B)
- Illustrator: Undo (Ctrl + Z), Redo (Ctrl + Shift + Z)
- Clip Studio Paint: New Layer (Ctrl + Shift + N)
Setting these shortcuts helps streamline tasks and focus on creating art. Use the Wacom software to personalize these buttons according to your application. It’s a simple way to enhance work efficiency. Statistics show that artists who use shortcuts finish their tasks 25% faster.
Optimizing ExpressKeys and Touch Strips
Understanding the function of ExpressKeys and Touch Strips. Recommendations for setting up commonly used commands.
How do ExpressKeys and Touch Strips work?
ExpressKeys and Touch Strips are handy tools on your Wacom tablet. They help you work faster. ExpressKeys are buttons for shortcuts. Touch Strips let you zoom or scroll.
What is a good way to set up ExpressKeys?
Set up ExpressKeys with common tasks. For example, use them for undo or redo. You can also set one to open a new file.
How should I set up Touch Strips?
Touch Strips can adjust brush size. You can also use them to zoom in and out. This makes drawing easier.
- Assign frequent commands to ExpressKeys.
- Use Touch Strips to zoom or scroll.
Wacom tools help you draw faster. They make your art fun! Remember to set them up often for new tasks.
Utilizing Radial Menus for Advanced Functionality
Explanation of radial menus and how they enhance productivity. Steps to create and configure custom radial menus.
Radial menus are like digital wheels on your Wacom tablet. They hold shortcuts and tools, boosting your work speed. Making a radial menu is simple and fun!
- Open Wacom Tablet Properties.
- Select a button for your menu.
- Choose “Radial Menu”.
- Add shortcuts: Think “quick links!”
This setup means fewer clicks and more fun drawing or designing. You’ll work like a pro, saving time in every task!
How do radial menus increase productivity?
Radial menus save time since you click fewer times. They also make workflows smoother by having tools handy. This lets you focus on being creative!
Testing and Adjusting Button Configurations
Testing button functionality for responsiveness and convenience. Making fine adjustments to configurations based on workflow needs.
How do you test and adjust button configurations?
By testing each button for quick response and customizing based on tasks.
To see if your Wacom tablet buttons are working well, press each one. Check if they respond fast and are comfortable to use. Everyone works differently, so adjust the buttons based on what fits you best. If drawing a lot, make shortcuts easy to reach. Try out what feels good and makes your work faster.
- Press all buttons and check response.
- Adjust to suit tasks and comfort.
Tip : Always test new settings with real tasks to feel the difference. A good setup makes creating art fun and quick! As a quote says, “The simpler, the better!”
Maintaining and Troubleshooting Your Wacom Tablet
Regular maintenance tips to keep buttons functioning optimally. Troubleshooting common issues with button settings and hardware..
Keep your Wacom tablet buttons clicking away like a tap-dancing crab! Regular cleaning is key. Use a soft, dry cloth for dust and crumbs. Treat your tablet like royalty and avoid spills. Every now and then, check for software updates. Problems? If buttons act up, restart the tablet. Still stuck? Head to settings and recalibrate. Unresponsive buttons may need a gentle tweak. Remember, only Hercules can break these buttons!
| Problem | Solution |
|---|---|
| Button Response Issue | Restart Tablet and Recalibrate |
| Button Not Working | Check Settings, Update Software |
| Sticky Buttons | Clean with Dry Cloth |
Conclusion
Setting up your Wacom tablet buttons enhances creativity and efficiency. Customize buttons for your favorite tasks, like drawing or zooming. Practice using your setup to become comfortable and faster. Explore online tutorials for more tips. Enjoy the process, and let your creativity flow with your uniquely-set Wacom tablet!
FAQs
What Are The Most Commonly Used Shortcuts To Assign To Wacom Tablet Buttons For Digital Artists?
Digital artists like to use Wacom tablet buttons for shortcuts. Common shortcuts include “Undo” to fix mistakes and “Save” to keep safe. Others use “Zoom In” and “Zoom Out” to see details better. “Brush” is popular to quickly start drawing. These buttons help make art easier and faster.
How Can I Customize Wacom Tablet Buttons To Optimize Workflows For Different Design Software Like Photoshop Or Illustrator?
You can make your Wacom tablet work better for you by changing button functions. Open the Wacom software on your computer. Choose the button you want to change. Assign a new action, like “copy” or “paste,” for Photoshop or Illustrator. This helps you work faster and easier!
What Is The Best Approach To Setting Up Wacom Tablet Buttons For Increased Productivity And Ergonomic Comfort?
To make your Wacom tablet easier to use, set up its buttons for the tasks you use most. Choose easy reaches, like undo, redo, or copy. Try to match them to what feels best for your hand. You should check if changing the tablet buttons helps you work faster or makes your hand feel better.
How Do Experienced Designers Configure Their Wacom Tablet Buttons For Tasks Such As Photo Editing, Digital Painting, Or Modeling?
Experienced designers set up their Wacom tablet buttons to make work easier. For photo editing, they use buttons to zoom in or out. In digital painting, they switch colors or brushes quickly. In modeling, they save work with just a button press. This helps them work faster and have fun creating!
Are There Any Specific Settings Or Software That Can Enhance The Functionality Of Wacom Tablet Buttons For Beginners?
Yes, you can use software called Wacom Tablet Properties. This software helps you customize the buttons. You can make each button do a special job, like changing colors or erasing. This makes using the tablet easier and more fun!
Your tech guru in Sand City, CA, bringing you the latest insights and tips exclusively on mobile tablets. Dive into the world of sleek devices and stay ahead in the tablet game with my expert guidance. Your go-to source for all things tablet-related – let’s elevate your tech experience!