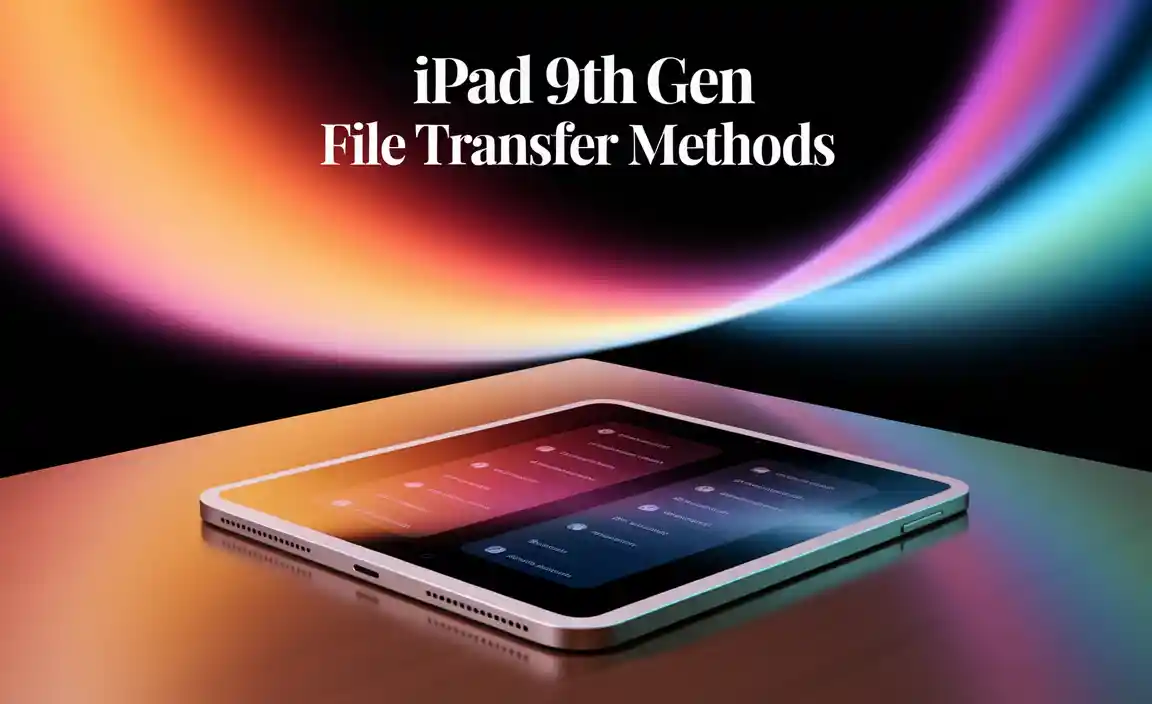
Have you ever needed to move photos or music to your iPad 9th gen? It’s easier than you might think! The iPad 9th gen offers some handy file transfer methods that can help you share your favorite stuff quickly.
Imagine this: you just took an amazing photo at the park. You want to show it to your friends or family. But how do you get it from your camera or computer to your iPad? This is where knowing the right transfer methods comes in.
Did you know that you can transfer files in just a few simple steps? You can use cables, Bluetooth, or even Wi-Fi. So many options are waiting for you to explore!
In this article, we’ll dive into the best ways to transfer files on your iPad 9th gen. Whether you’re a tech newbie or an expert, there’s something here for everyone. Let’s make sharing easy and fun!
Ipad 9Th Gen File Transfer Methods: Efficient Ways To Transfer
Transferring files to your iPad 9th Gen can be simple. You can use AirDrop for quick sharing with other Apple devices. Also, iCloud helps keep your files organized in the cloud. Need to connect a USB? Use the adapter for hassle-free transfers. Have photos or documents on your computer? Sync them through iTunes or Finder. Fun fact: with these methods, you can easily share memes with friends! What method will you try first?
Using AirDrop for Quick File Transfers
Stepbystep guide on how to use AirDrop. Tips for troubleshooting common AirDrop issues.
AirDrop makes sharing files as easy as pie! First, ensure both devices have AirDrop on. Swipe down from the corner on your iPad and select AirDrop. Choose “Everyone” to share with anyone nearby. Next, hit “Share” on whatever you want to send, then pick the receiving device’s name. Voila! Your file zips over like magic.
Having trouble? Let’s tackle that! If AirDrop isn’t working, check your Wi-Fi and Bluetooth. They need to be on. Also, make sure both devices are nearby. If all else fails, trying a friendly restart often fixes tech troubles. Remember: sometimes the best solution is simply turning it off and on again!
| Common AirDrop Issues | Quick Fixes |
|---|---|
| Can’t see the other device | Check Wi-Fi and Bluetooth. |
| Transfer stuck | Restart both devices. |
| Not receiving files | Set AirDrop to “Everyone”. |
Transferring Files via iCloud Drive
How to set up and use iCloud Drive for file transfers. Benefits of using cloud storage for transfer.
To set up iCloud Drive, go to your iPad’s settings. Tap your name, then choose iCloud. Switch on iCloud Drive. This lets you save and share files easily.

Using cloud storage has many benefits:
- Access files from anywhere.
- Share files with friends quickly.
- Save space on your device.
iCloud Drive is simple and efficient. With it, your important files are always safe and ready to share!
How do I use iCloud Drive to transfer files?
First, upload your files to iCloud Drive. Next, share them through a link with family or friends. This makes it easy to send pictures or documents without any hassle.
Quick iCloud Drive Tips:
- Check your iCloud storage regularly.
- Use folders to stay organized.
- Make sure you have Wi-Fi for fast uploads.
Connecting to a Computer: Using iTunes/Finder
Instructions for transferring files using iTunes on Windows. Guide for using Finder on macOS for file transfer.
To move files to your iPad 9th gen, you can use iTunes if you have a Windows computer. Here’s how:
- Download and install iTunes.
- Connect your iPad using a USB cable.
- Open iTunes and select your device.
- Click on the type of content you want to transfer.
- Drag files into the window and press Sync.
If you’re on a Mac, you can use Finder:
- Connect your iPad with a USB cable.
- Open a new Finder window.
- Select your iPad from the sidebar.
- Click on the type of files you want to move.
- Drag and drop files into the Finder window.
Using USB-C and External Drives for File Transfers
Guide on connecting USBC devices to iPad 9th Gen. Steps for transferring files from external drives.
Connecting USB-C devices to your iPad 9th Gen is easy. You can use external drives to transfer files quickly. Follow these simple steps:

- Get a USB-C cable and plug it into your iPad.
- Connect the other end to your external drive.
- Your iPad will show a new folder to access files.
- Select the files you want to transfer.
- Drag them to your iPad’s storage.
This method helps you move photos, videos, and documents with ease!
How do I connect a USB-C drive to my iPad?
To connect, use a USB-C cable and attach it to both your iPad and drive. Your files will be ready to explore!
Wireless Transfer Methods: Wi-Fi Direct and Bluetooth
Explanation of using WiFi Direct for transfers. Tips for utilizing Bluetooth effectively.
Transferring files can be super easy, especially with WiFi Direct and Bluetooth. WiFi Direct lets your devices connect without a network. It’s like having a secret handshake! Simply turn on WiFi Direct on both devices, select the files, and transfer them faster than a squirrel on a sugar rush.
For Bluetooth, remember this: keep your devices close, like best friends! Always check if Bluetooth is turned on and pair your devices. Wait for the beep, and voila! You’re transferring like a pro.
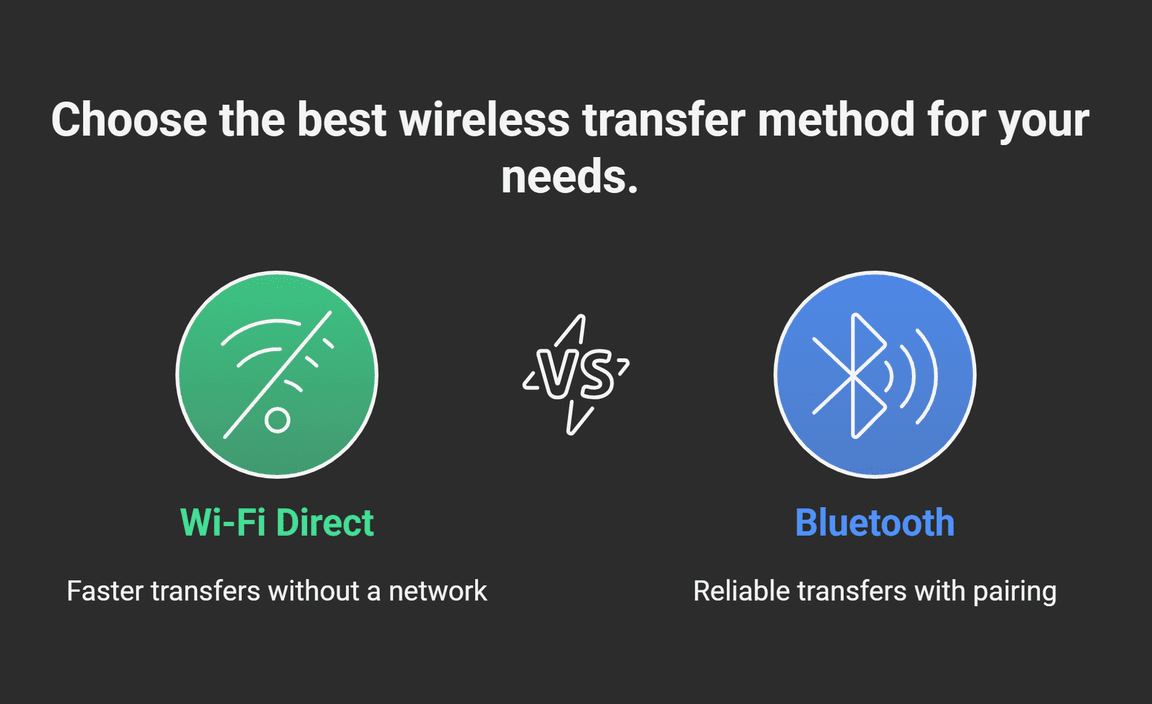
| Method | Speed | Distance |
|---|---|---|
| WiFi Direct | Fast | Up to 200 meters |
| Bluetooth | Moderate | Up to 10 meters |
Data Backup and File Management Tips
Importance of regular backups before transferring files. Best practices for organizing files on the iPad 9th Gen.
Backing up your data is very important before you transfer files. It protects your information from loss. You can easily restore it if something goes wrong. Try these tips to keep your iPad 9th Gen organized:
- Create folders for different types of files.
- Use clear names for your files.
- Regularly delete old or unused files.
- Sync your iPad with iCloud for extra security.
Following these steps will help you manage your files better and keep your important data safe.
How often should I backup my iPad 9th Gen?
You should backup your iPad 9th Gen at least once a week. This ensures you do not lose important files or data. Regular backups keep your device running smoothly.
What’s a quick way to transfer files?
The quickest way to transfer files is by using AirDrop. It allows you to send files between Apple devices easily and fast.
Conclusion
In conclusion, the iPad 9th gen offers several file transfer methods, making sharing easy. You can use AirDrop for quick wireless transfers, or USB-C for faster connections. Cloud services like iCloud also help you access files anytime. Explore these options to find what works best for you. Don’t hesitate to try them out or read more about each method!
FAQs
What Are The Different Methods To Transfer Files To An Ipad 9Th Generation From A Computer?
You can transfer files to an iPad 9th generation in a few ways. First, use a USB cable and connect your iPad to your computer. Then, open iTunes or Finder, and drag your files to your iPad. Second, you can use iCloud, which is a place to store files online. Just save your files to iCloud on your computer, and they’ll appear on your iPad. Lastly, try sharing files through email or apps like Dropbox or Google Drive.
How Can I Use Cloud Services Like Icloud Or Google Drive To Transfer Files To My Ipad 9Th Gen?
To use cloud services like iCloud or Google Drive, first, upload your files from your computer or phone to the cloud. For iCloud, open the Photos app or Files app and tap “Upload.” For Google Drive, open the Google Drive app and tap the “+” button to add files. Next, on your iPad, download the iCloud or Google Drive app. You can then open the app to see and download your files to your iPad!
What Are The Steps To Use Airdrop For Transferring Files Between An Ipad 9Th Generation And Other Apple Devices?
To use AirDrop, first, make sure your iPad and the other Apple device are close together. Open the item you want to share, like a photo or a document. Tap the share button, which looks like a square with an arrow. Choose the name of the device you want to send it to. Wait for the other person to accept, and you’re done!
Can I Transfer Files From My Ipad 9Th Gen To An External Storage Device, And If So, How?
Yes, you can transfer files from your iPad 9th gen to an external storage device. First, connect the device to your iPad using a cable. Next, open the Files app on your iPad. You can then drag and drop files from the iPad to the external device. Make sure the external device is compatible with your iPad!
What Apps Are Recommended For Transferring Files Between An Ipad 9Th Generation And Other Devices Or Platforms?
For moving files from your iPad 9th generation to other devices, you can use apps like AirDrop, Google Drive, and Dropbox. AirDrop is great for sending files to Apple devices nearby. Google Drive and Dropbox let you share files with computers and other devices using the internet. Just download the app, upload your files, and share the link!
Resource
-
Best practices for backing up data: https://support.apple.com/en-us/HT203977
-
Understanding how AirDrop works: https://www.lifewire.com/what-is-airdrop-1994346
-
Tips for using external USB-C drives: https://www.macworld.com/article/671039/how-to-use-external-storage-with-ipad.html
-
Cloud storage security and organization: https://www.digitaltrends.com/computing/what-is-cloud-storage/
Your tech guru in Sand City, CA, bringing you the latest insights and tips exclusively on mobile tablets. Dive into the world of sleek devices and stay ahead in the tablet game with my expert guidance. Your go-to source for all things tablet-related – let’s elevate your tech experience!