Get your RCA Tablet 10 Viking Pro up and running with this easy setup guide. We’ll walk you through unboxing to enjoying your new tablet, covering Wi-Fi, accounts, and essential tips for a smooth start. Perfect for beginners!
Welcome to the world of your new RCA Tablet 10 Viking Pro! Sometimes, getting a new gadget can feel a little overwhelming. You want to dive in, but figuring out all the bits and bobs to get it working just right can be a headache, right?
Don’t worry, we’ve all been there! This guide is designed to make setting up your RCA Tablet 10 Viking Pro as simple and stress-free as possible. Think of me as your friendly tech guide, here to help you navigate every step.
We’ll start with what’s in the box, get you connected to the internet, and help you set up your Google account. By the end of this article, you’ll be ready to explore all the amazing things your new tablet can do. Let’s get started on making your tablet experience fantastic from day one!
Unboxing Your RCA Tablet 10 Viking Pro: What to Expect

The moment you’ve been waiting for – opening that new tablet box! It’s always exciting to see what’s inside. For your RCA Tablet 10 Viking Pro, you’ll typically find everything you need to get started right away.
Here’s a breakdown of what’s usually included in the box:
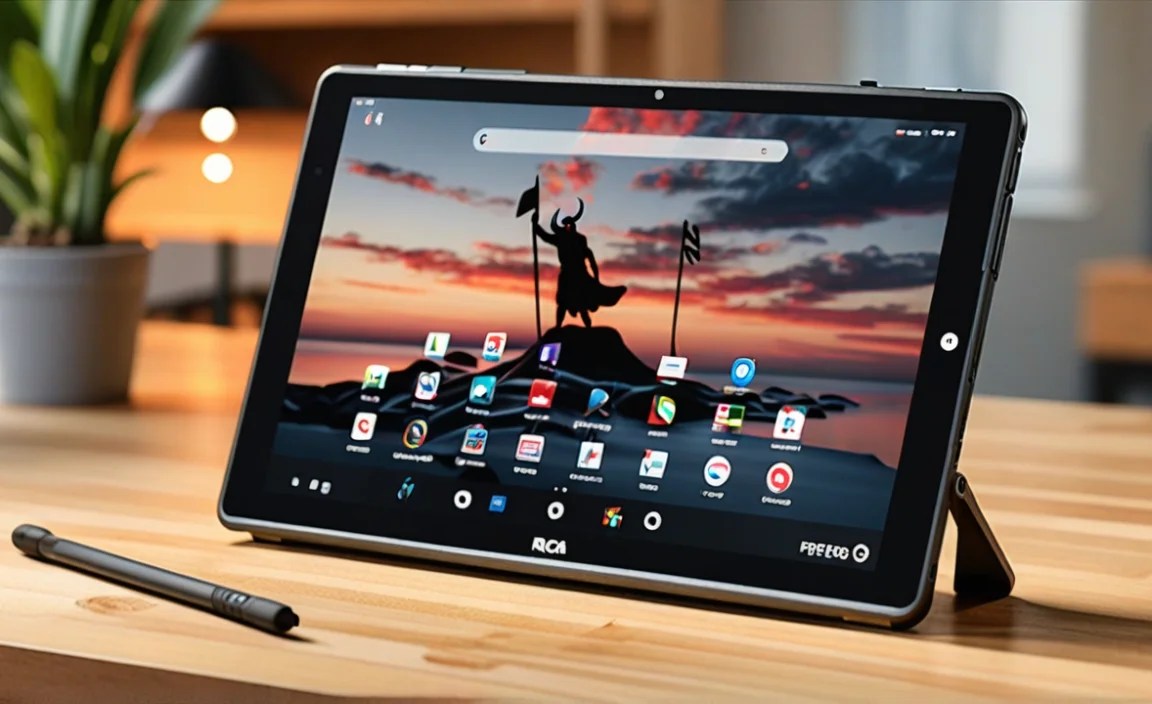
The RCA Tablet 10 Viking Pro: Your shiny new device, ready to be powered on.
USB Charging Cable: This is how you’ll connect your tablet to a power source.
AC Power Adapter: The adapter that plugs into the wall to charge your tablet.
Quick Start Guide: A brief manual that offers essential setup information.
Warranty Information: Details about your tablet’s warranty coverage.
Important Note: Sometimes manufacturers update what’s included, so it’s always a good idea to quickly check the contents against the product description you ordered from.
First Steps: Powering On and Initial Charge
Before we jump into the software setup, let’s make sure your tablet has enough juice to get through the process.
1. Connect to Power: Use the provided USB cable and AC adapter to plug your tablet into a wall outlet. It’s a good idea to give it a decent charge (at least an hour or two) before you start setting up. This prevents the tablet from shutting down mid-process, which can be frustrating.
2. Power On: Once it has a bit of charge, locate the power button. It’s usually on the side or top edge of the tablet. Press and hold it for a few seconds. You should see the RCA logo appear, followed by a welcome screen.
Setting Up Your RCA Tablet 10 Viking Pro: A Step-by-Step Guide

Now that your tablet is charged and powered on, we can begin the software setup. This is where we’ll get it connected to the internet and ready for you to use. The process is designed to be straightforward, guiding you through each stage.
Step 1: Select Your Language
The first thing you’ll see is a welcome screen.
You’ll be prompted to select your preferred language. Scroll through the list and tap your language.
After selecting your language, tap the arrow or “Next” button to proceed.
Step 2: Connect to Wi-Fi
To get the most out of your tablet, you’ll need an internet connection. Setting up Wi-Fi is crucial for downloading apps, updates, and signing into your accounts.
1. Find Your Network: Your tablet will scan for available Wi-Fi networks. A list of nearby networks will appear.
2. Select Your Network: Tap on the name of your home Wi-Fi network (SSID).
3. Enter Your Password: A keyboard will pop up. Carefully enter your Wi-Fi password. Passwords are case-sensitive, so double-check if it doesn’t connect the first time.
4. Connect: Tap “Connect” or a similar button.
5. Connection Status: You should see a “Connected” message or a Wi-Fi symbol in the status bar at the top of your screen.
Tip: If you can’t find your network, make sure your Wi-Fi router is on and within range. You might also try rebooting your router.
Step 3: Sign in to Your Google Account (or Create One)
Android tablets are tightly integrated with Google services. A Google account is essential for downloading apps from the Google Play Store, backing up your data, and using services like Gmail, Google Drive, and Google Maps.
Existing Account: If you already have a Google account (you might use it for Gmail or YouTube), enter your email address and password when prompted.
Create Account: If you don’t have a Google account, tap on “Create account.” You’ll be guided through steps to set up a new account, which typically involves providing your name, date of birth, choosing a Gmail address, and setting a password. Make sure to choose a strong, memorable password.
Step 4: Google Services and Data Restore
After signing in, you’ll encounter screens related to Google services.
Accept Terms: You’ll need to accept Google’s Terms of Service. Read through them if you wish, then tap to accept.
Backup & Restore: You might be asked if you want to restore data from a previous Android device. If this is your first Android tablet or you want a clean start, you can skip this or choose to restore only specific items like apps or photos.
Google Assistant: You may be prompted to set up Google Assistant. You can choose to enable it for voice commands or skip this step for now.
Step 5: Set Up Security (PIN, Pattern, or Password)
Protecting your tablet is important. You’ll be asked to set up a screen lock.
Choose a Method: You can usually choose between a PIN, a pattern, or a password.
PIN: A numeric code (four digits or more). Easy to remember but can be seen by others.
Pattern: Drawing a specific pattern on a grid of dots. Can be quick but also less secure if your pattern is simple.
Password: A combination of letters, numbers, and symbols. The most secure but can be slower to enter.
Set Your Lock: Follow the on-screen instructions to set your chosen method. You’ll likely need to enter it twice to confirm.
Fingerprint (If Available): Some RCA tablets might have a fingerprint scanner. If yours does, you’ll be guided to set it up here as well for quick and secure access.
Step 6: Additional Settings and Final Touches
You’re almost there! The remaining screens will ask about other preferences.
Location Services: Decide whether you want to allow apps and services to use your location. For navigation and weather apps, this is useful.
Device Protection: You might see options for features like “Find My Device.” It’s highly recommended to keep this enabled. It can help you locate your tablet if it’s lost or stolen. You can learn more about device protection from Google’s Find My Device page.
Manufacturer Services: RCA might have its own pre-installed apps or services. You can choose to set these up or skip them.
All Set! Once you’ve gone through all the prompts, you’ll see your tablet’s home screen – a testament to your successful setup!
Getting Familiar with Your RCA Tablet 10 Viking Pro

You’ve successfully set up your tablet! Now, let’s quickly explore some key areas to help you get the most out of it.
The Home Screen
This is your central hub. You’ll find:
App Icons: Shortcuts to your most used applications.
Widgets: Live information displays, like weather or a calendar.
Status Bar: At the very top, showing time, battery, Wi-Fi status, and notifications.
Navigation Bar: At the bottom, typically with back, home, and recent apps buttons.
The App Drawer
Swipe up from the bottom of your Home Screen to reveal the App Drawer. This is where all your installed applications are listed. You can tap and hold an app icon from here to drag it to your Home Screen for easier access.
The Google Play Store
This is your gateway to thousands of free and paid apps, games, movies, and books.
Finding Apps: Open the Play Store app. Use the search bar at the top to find specific apps (e.g., “Facebook,” “YouTube Kids,” “Microsoft Office”).
Installing Apps: Tap on an app, then tap the “Install” button. The app will download and install automatically.
Notifications and Quick Settings
Notifications: Swipe down from the very top of the screen to see your notifications (new messages, app alerts, etc.).
Quick Settings: Swipe down a second time (or with two fingers) to access Quick Settings. This is where you can quickly toggle Wi-Fi, Bluetooth, screen brightness, and other common settings.
Essential Tips for RCA Tablet 10 Viking Pro Users

To make your tablet experience even better and to keep it running smoothly, here are some handy tips:
Keep Software Updated: Regularly check for system and app updates. Updates often include important security patches and performance improvements. You can usually find system updates under `Settings > System > System update`.
Manage Storage: Tablets have limited storage. Keep an eye on your available space under `Settings > Storage`. Uninstall apps you no longer use and consider using cloud storage for photos and videos.
Battery Management: To extend battery life, you can reduce screen brightness, disable Wi-Fi and Bluetooth when not in use, and close apps running in the background.
Security First: Always use a strong screen lock. Be cautious about what you download from the Play Store, and avoid clicking on suspicious links in emails or messages. For more on online safety, check out resources from the Federal Trade Commission (FTC).
Back Up Your Data: Regularly back up your important photos, documents, and contacts to a cloud service like Google Drive or a computer. This ensures you don’t lose your data if something happens to your tablet.
Understanding Your RCA Tablet 10 Viking Pro Specs (A Quick Look)
While you don’t need to be a tech expert, knowing a little about your tablet’s capabilities can be helpful. The RCA Tablet 10 Viking Pro is generally designed for everyday tasks.
| Feature | Typical Specification | What it Means for You |
| :————– | :——————————————————– | :——————————————————————————————————————————————————————————– |
| Display | 10.1-inch IPS Touchscreen | Offers a good viewing area for browsing, watching videos, and light productivity. IPS technology means better viewing angles and color accuracy. |
| Processor | Quad-Core Processor (e.g., MediaTek) | Handles common tasks like web browsing, social media, and running multiple apps fairly well. It’s suitable for general use, not high-end gaming or heavy video editing. |
| RAM | 1GB or 2GB | Affects how many apps you can run smoothly at once. 1GB is basic, 2GB is better for multitasking. If you often switch between many apps, you might notice some slowdown with less RAM. |
| Storage | 16GB or 32GB Internal Storage | Stores your apps, photos, videos, and files. This is the space available on the tablet. You’ll need to manage this, especially if you take many photos or download large apps. |
| Expandable | MicroSD Card Slot (up to 32GB or 64GB) | Essential for adding more storage space for photos, videos, and files without filling up the internal storage. |
| Connectivity | Wi-Fi 802.11 b/g/n, Bluetooth | Connects to your home Wi-Fi for internet access. Bluetooth allows you to connect wireless headphones, speakers, or keyboards. |
| Battery | Varies (e.g., 5000 mAh) | Affects how long you can use the tablet between charges. Higher mAh generally means longer battery life. |
| Camera | Front-facing and Rear-facing cameras | Useful for video calls and casual photos. Don’t expect professional-grade picture quality, but adequate for basic needs. |
| Operating | Android (specific version may vary) | The platform that runs your tablet, offering access to the Google Play Store and a familiar user interface. |
Note: These are typical specifications. Always check the exact model you purchased for precise details.
Troubleshooting Common Setup Issues
Even with the best guides, sometimes things don’t go exactly as planned. Here are a few common hiccups and how to fix them:
Issue: Tablet won’t turn on.
Solution: Ensure the tablet is charged. Connect it to the charger for at least 30 minutes and try again. Make sure you’re holding the power button down for a sufficient amount of time (5-10 seconds).
Issue: Wi-Fi won’t connect.
Solution: Double-check your Wi-Fi password for typos and ensure it’s case-sensitive. Move closer to your Wi-Fi router. Try restarting your router and your tablet. If it’s still not working, toggle Wi-Fi off and on again on the tablet, or try forgetting the network and reconnecting.
Issue: Can’t sign into Google Account.
Solution: Verify your email address and passwor
Your tech guru in Sand City, CA, bringing you the latest insights and tips exclusively on mobile tablets. Dive into the world of sleek devices and stay ahead in the tablet game with my expert guidance. Your go-to source for all things tablet-related – let’s elevate your tech experience!