RCA Tablet 7 Voyager Setup: Your Effortless Essential Guide
Setting up your RCA Tablet 7 Voyager is a straightforward process! This guide will walk you through initial power-on, Wi-Fi connection, Google account setup, and essential initial configurations to get you browsing, playing, and connecting right away. Follow these simple steps for a smooth start.
Welcome to the world of your new RCA Tablet 7 Voyager! We know that unboxing a new gadget is exciting, but sometimes the setup process can feel a little daunting. Don’t worry, it’s not as complicated as it might seem. We’re here to make your RCA Tablet 7 Voyager setup a breeze. Think of me, Walter Moore from Tabletzoo, as your friendly tech guide. This guide is designed with you in mind, even if you’re new to tablets. We’ll go step-by-step, from turning it on for the first time to getting it ready for your everyday use. Get ready to enjoy your tablet in no time!
RCA Tablet 7 Voyager Setup: An Essential Beginner’s Guide
Setting up a new tablet can feel like a puzzle, but with the RCA Tablet 7 Voyager, we’re aiming for an experience that’s more like a simple click-and-go. This guide is your roadmap to getting your new device ready for action, whether it’s for streaming your favorite shows, checking emails, or letting the kids play their educational games. We’ve broken down every step into easy-to-follow instructions, so you can confidently navigate the initial setup and dive into using your tablet without any hassle or confusion.
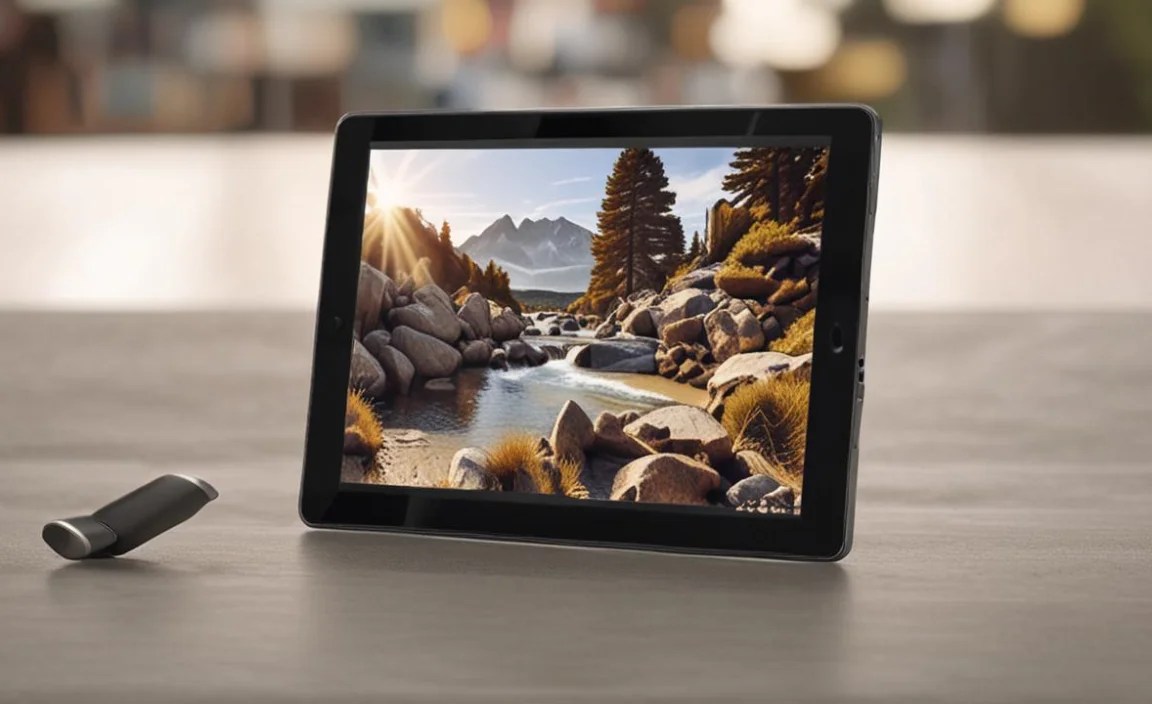
Unboxing Your RCA Tablet 7 Voyager: What to Expect

The first step to setting up your RCA Tablet 7 Voyager is, of course, unboxing it. It’s always a good feeling to see what’s inside the box! Gently open the packaging. Inside, alongside your tablet, you should find a few essential accessories to get you started.
Items typically found in the box include:
- The RCA Tablet 7 Voyager device itself.
- A USB charging cable.
- A power adapter.
- A quick start guide (which this guide will expand upon!).
- Warranty information.
Before you begin the setup, take a moment to ensure all these items are present and accounted for. If anything appears to be missing, double-check the packaging, and if it’s still nowhere to be found, consider reaching out to the retailer or RCA customer support.
First Power-Up and Initial Configuration
Now that you’ve unboxed your tablet, it’s time to bring it to life! This is where the real setup begins.
Charging Your Tablet
It’s always a good idea to give your new tablet a full charge before you start using it extensively. This ensures that the battery won’t die in the middle of your setup process.
- Locate the USB charging cable and the power adapter.
- Plug the smaller end of the USB cable into the charging port on your RCA Tablet 7 Voyager. This port is usually located along one of the edges of the tablet.
- Plug the larger end of the USB cable into the power adapter.
- Plug the power adapter into a functioning wall outlet.
- You should see a charging indicator on the screen, often a battery icon with a lightning bolt, letting you know it’s charging.
Allow your tablet to charge for at least a couple of hours, or until the battery icon indicates it’s fully charged.
Turning On Your Tablet
Once your tablet has a decent charge, you’re ready to power it on.
- Locate the power button. This is typically found on the top or side edge of the tablet.
- Press and hold the power button for a few seconds.
- You’ll see the RCA logo appear on the screen, followed by the Android startup animation. This confirms your tablet is booting up.
Your tablet will now walk you through a series of initial setup screens.
Navigating the On-Screen Setup Wizard
Your RCA Tablet 7 Voyager comes with a user-friendly setup wizard that guides you through the essential steps. Let’s go through them together.
1. Select Your Language
The very first screen you’ll see is likely to ask you to select your preferred language.
- Scroll through the list of available languages.
- Tap on your chosen language to select it.
- Tap the “Start” or “Next” button to proceed.
2. Connect to Wi-Fi
To download apps, browse the internet, and sign into your Google account, you’ll need an internet connection. Wi-Fi is the most common way to do this.
- Your tablet will scan for available Wi-Fi networks.
- A list of nearby Wi-Fi networks will appear. Look for your home Wi-Fi network name (SSID).
- Tap on your Wi-Fi network name.
- If your network is password-protected (most are), a keyboard will appear. Carefully type in your Wi-Fi password. Make sure to pay attention to capitalization, as passwords are case-sensitive.
- Tap “Connect.”
- If the connection is successful, you’ll see a Wi-Fi symbol in the status bar at the top of your screen.
If you don’t see your network or are having trouble connecting, make sure you’re within range of your router and that you’ve entered the password correctly. You might also consider restarting your Wi-Fi router.
3. Google Account Sign-In or Creation
A Google account is essential for accessing the Google Play Store, syncing your contacts and calendar, and using many other Android features.
- You’ll be prompted to sign in with your Google account.
- If you already have a Google account (e.g., a Gmail address): Enter your email address and tap “Next.” Then, enter your password and tap “Next.”
- If you need to create a new Google account: Tap on “Create account.” Follow the on-screen prompts to enter your name, desired username (which will be your new email address), password, and other required details. You may need to verify your phone number or provide other information.
- Once signed in or your account is created, you’ll likely agree to Google’s Terms of Service and Privacy Policy. Read through them if you wish, and tap “Accept.”
4. Device Name and Google Services
After signing into your Google account, you might be asked to:
- Name your device: This helps identify your tablet if you use services like “Find My Device.” You can choose a default name or enter your own.
- Configure Google Services: You’ll see options related to location services, sending diagnostic data, and personalized ads. You can review these and toggle them on or off according to your preferences. It’s generally recommended to keep location services on for features like navigation and “Find My Device.”
Tap “Accept” or “Next” to continue after making your selections.
5. Set Up Screen Lock (Optional but Recommended)
For security, it’s highly recommended to set up a screen lock. This prevents unauthorized access to your tablet.
-
- Choose a Lock Type: You’ll typically have options like:
- PIN: A numeric code (like for your ATM card).
- Pattern: Drawing a specific pattern on a grid of dots.
- Password: An alphanumeric password.
The RCA Tablet 7 Voyager may also offer “None” or “Swipe,” but these provide very little security.
- Set Your PIN/Pattern/Password: Follow the on-screen instructions to create your chosen lock method.
- Confirm Your Lock: You’ll be asked to enter it again to confirm.
- Choose a Lock Type: You’ll typically have options like:
If you choose not to set a lock now, you can always do it later through the tablet’s Settings menu.
6. Review Additional Apps / Setup Complete
Your tablet might suggest installing additional apps or completing the setup.
-
-
- You might see a screen offering to install popular apps from the Google Play Store. You can choose to install them now or skip this step and install them later.
- Finally, you’ll see a message indicating that your setup is complete. Tap “Finish” or “All Set.”
-
Congratulations! Your RCA Tablet 7 Voyager is now set up and ready for you to explore.
Getting to Know Your RCA Tablet 7 Voyager Interface

Now that your tablet is all set up, let’s briefly cover the basics of its interface so you can start using it with confidence.
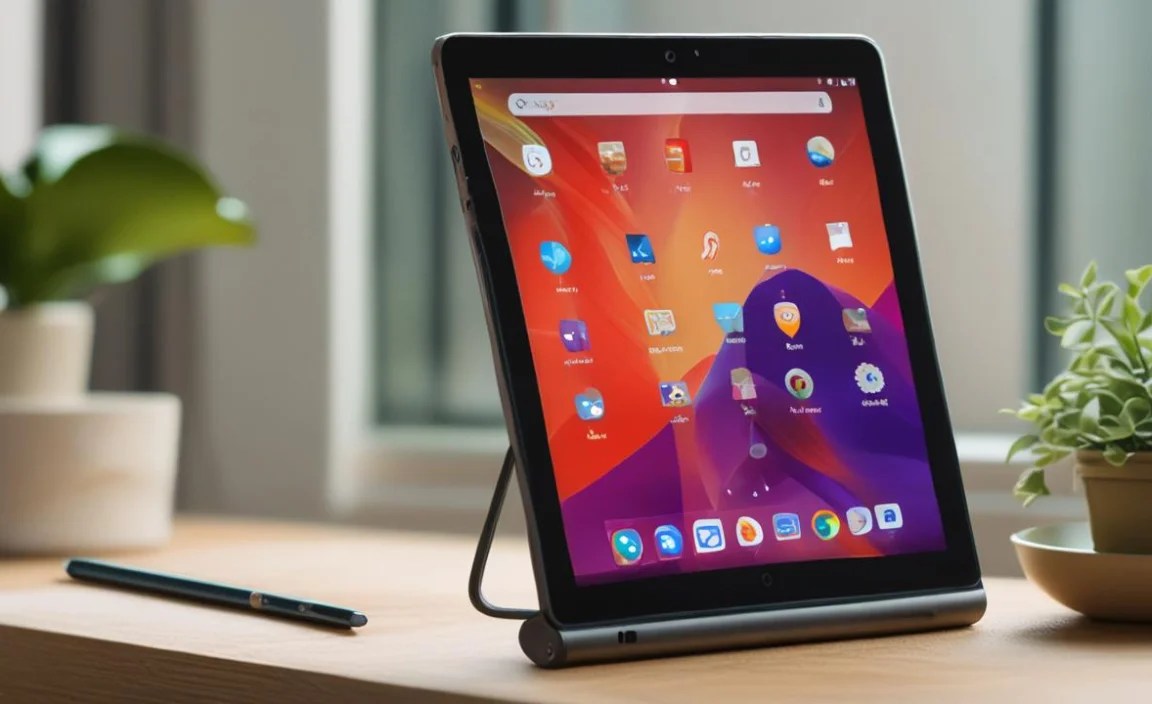
The Home Screen
This is your main hub. You’ll see:
-
-
- App Icons: Tap these to open applications.
- Widgets: These are mini-apps displayed on your home screen, like a clock or weather forecast.
- Dock: Usually at the bottom, this area can display your most frequently used apps, like the browser, camera, and app drawer.
- Google Search Bar: Often at the top, allowing you to quickly search the web or your tablet.
-
The App Drawer
This is where all your installed applications are listed. You can usually access it by swiping up from the bottom of your home screen or tapping a specific icon (often a circle with dots).
The Notification Shade and Quick Settings
Swipe down from the very top of the screen to access:
-
-
- Notifications: Alerts from apps, system messages, etc.
- Quick Settings: Icons for quick toggling of common functions like Wi-Fi, Bluetooth, screen brightness, and more. Swipe down again to expand this panel for more options.
-
Navigating with On-Screen Buttons
At the bottom of your screen, you’ll find the navigation buttons:
-
-
- Back Arrow: Takes you to the previous screen or action.
- Home Button (Circle/Square): Takes you back to your main home screen from anywhere.
- Recent Apps Button (Square/Lines): Shows you a list of recently used apps, allowing you to switch between them or close them.
-
These buttons might be persistent at the bottom of your screen or may appear contextually.
Essential First Steps After Setup
With the basic setup complete, here are a few things you’ll want to do to make your tablet experience even better.
Personalizing Your Home Screen
Make your tablet truly yours!
-
-
- Add/Remove App Icons: Tap and hold an app icon, then drag it to the desired position on your home screen or drag it to a “Remove” or trash can icon at the top to delete it from the home screen (this doesn’t uninstall the app).
- Add Widgets: Tap and hold an empty space on your home screen. You’ll usually see options to add widgets or wallpapers. Browse available widgets and tap one to add it.
- Change Wallpaper: From the “Add to Home Screen” menu, select “Wallpapers.” Browse and choose a new background image.
-
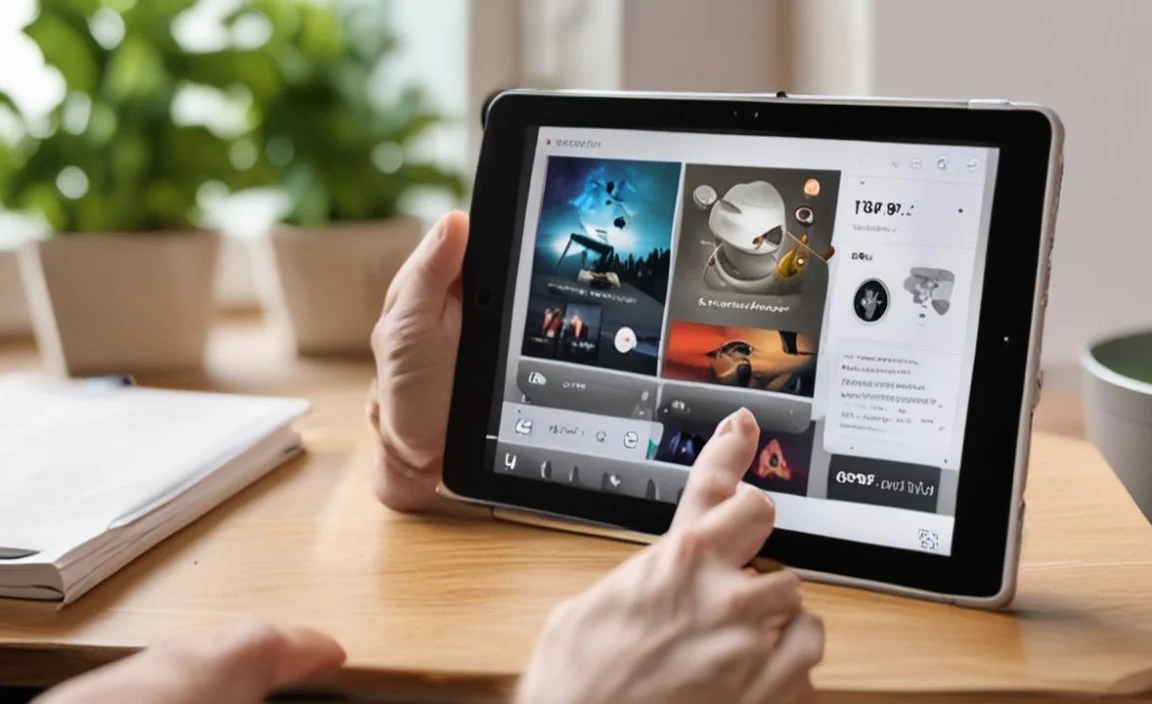
Exploring the Google Play Store
The Google Play Store is your gateway to millions of apps, games, books, and movies.
-
-
- Find the Google Play Store icon (usually a colorful triangle play button) and tap it.
- You can browse categories, search for specific apps (e.g., “Netflix,” “Facebook,” “Procreate” if you’re artistic), or check out trending apps.
- To install an app, tap on it, then tap the “Install” button. Some apps may require payment.
-
Remember, it’s a good idea to keep an eye on app permissions to understand what data apps can access.
Updating Your Tablet Software
Keeping your tablet’s software up-to-date is crucial for security, performance, and access to new features.
-
-
- Go to the Settings app (look for a gear icon).
- Scroll down and tap on System (or “About tablet” or a similar option).
- Tap on System update or Software update.
- The tablet will check for available updates. If an update is found, follow the on-screen instructions to download and install it. Ensure your tablet is charged and connected to Wi-Fi for this process.
-
For more information on Android updates, you can check out a helpful resource like Android version history and evolution from Google’s official Android developers site.
Connecting Bluetooth Devices
Want to use wireless headphones or a speaker? Here’s how to connect Bluetooth devices.
-
-
- Ensure your Bluetooth device is turned on and in pairing mode (check its manual for instructions).
- On your RCA Tablet 7 Voyager, go to Settings > Connected devices > Bluetooth.
- Make sure Bluetooth is turned On.
- Your tablet will scan for nearby devices. Tap the name of your Bluetooth device when it appears in the list of “Available devices.”
- You might need to confirm a pairing code on both devices.
- Once paired, the device will show up under “Paired devices,” and you should be able to use it.
-
Troubleshooting Common Setup Issues
Even with a smooth setup process, minor hiccups can occur. Here are solutions to some commonly encountered problems.
Wi-Fi Connectivity Problems
Problem: Cannot find your Wi-Fi network or cannot connect.
Solution:
-
-
- Double-check your Wi-Fi password for typos and case sensitivity.
- Ensure you are within range of your Wi-Fi router.
- Restart your Wi-Fi router by unplugging it, waiting 30 seconds, and plugging it back in.
- Restart your RCA Tablet 7 Voyager.
- Forget the network in your tablet’s Wi-Fi settings and try reconnecting.
-
Google Account Sign-In Issues
Problem: Incorrect password or unable to sign in.
Solution:
-
-
- Ensure you are using the correct email address and password for your Google account.
- If you’ve forgotten your password, use the “Forgot password?” option on the Google sign-in screen to reset it. You’ll need access to the recovery email or phone number associated with your account.
- Make sure your tablet has a stable internet connection when trying to sign in.
-
Tablet is Slow or Unresponsive
Problem: The tablet is taking a long time to load or is freezing.
Solution:
-
-
- Close unused apps by going to the Recent Apps screen and swiping them away.
- Restart your tablet by holding the power button and selecting “Restart.”
- Check if there’s a system update available (Settings > System > System Update).
- If the issue persists and is severe, consider a factory reset (this will erase all data, so back up anything important first). You can find this option in Settings > System > Reset options.
-
Device Not Charging
Problem: Tablet not charging when plugged in.
Solution:
-
-
- Ensure the USB cable and power adapter are properly connected to both the tablet and the wall outlet.
- Try a different USB cable and power adapter if you have them, as these accessories can sometimes fail.
- Clean the charging port on the tablet gently with a dry, soft brush or compressed air to remove any dust or debris.
- Try plugging into a different wall outlet.
-
For more in-depth troubleshooting, official RCA support resources or guides on general Android troubleshooting can be very helpful.
Customizing Your RCA Tablet 7 Voyager for Specific Uses
Once you’re comfortable with the basics, you can tailor your tablet experience.
For Students
-
-
- Productivity Apps: Install apps like Google Docs, Sheets, and Slides for note-taking and document creation. Consider apps like Evernote or OneNote for more advanced note-taking.
- Educational Resources: Download apps like Quizlet for studying or access educational platforms relevant to your coursework.
- Organization: Utilize calendar apps, task managers (like Google Tasks or Todoist), and cloud storage services (like Google Drive or Dropbox) to keep your work organized.
-
For Entertainment
-
-
- Streaming Apps: Download apps like Netflix, Hulu, YouTube, Disney+, and Amazon Prime Video for movies and shows.
- Music Apps: Get Spotify, Apple Music, or YouTube Music for your audio entertainment.
- Reading Apps: Install Kindle, Google Play Books, or Libby to enjoy digital books.
- Gaming: Explore the vast library of games available on the Google Play Store.
-
For Families
-
-
- Google Family Link: This is a fantastic tool for managing children’s device usage. You can set screen time limits, approve or block apps, and manage their accounts. Find it on the Play Store.
- Kid-Friendly Apps: Download educational and entertainment apps designed specifically for younger audiences.
- Easy Access to Shared Content: Set up shared albums in Google Photos or use cloud storage for family photos and important documents.
-
RCA Tablet 7 Voyager Specifications Overview
Understanding
Your tech guru in Sand City, CA, bringing you the latest insights and tips exclusively on mobile tablets. Dive into the world of sleek devices and stay ahead in the tablet game with my expert guidance. Your go-to source for all things tablet-related – let’s elevate your tech experience!