Setting up your new RCA Tablet 7 Voyager, especially with its dual cameras, might seem a bit daunting at first. But don’t worry, it’s actually a straightforward process designed to get you snapping photos and exploring your tablet quickly. Many folks find themselves wondering about the best way to get started, from turning it on to capturing those first amazing shots. This guide is here to walk you through every step, making the setup process feel like a breeze. We’ll demystify the dual camera and ensure your tablet is ready for action in no time.
RCA Tablet 7 Voyager Setup: A Beginner’s Guide to Proven Dual Camera Magic
Getting a new tablet is exciting! The RCA Tablet 7 Voyager, with its convenient dual camera setup, offers a simple way to capture memories and explore the digital world. Many new users feel a little unsure about the initial setup, especially when it comes to making sure everything is connected and ready to go. The good news is that setting up this tablet is designed to be user-friendly, even if you’re not a tech expert. We’ll guide you through each step, from unboxing to snapping your first photo, ensuring a smooth and confident start.
Unboxing Your RCA Tablet 7 Voyager: What’s Inside?

Before we dive into the setup, let’s make sure you have everything you need from the box. Opening a new gadget is always a fun part of the experience! The RCA Tablet 7 Voyager is designed with simplicity in mind, and so is its packaging.
Here’s what you should typically find inside:
- The RCA Tablet 7 Voyager itself.
- A USB charging cable.
- A power adapter (wall charger).
- A quick start guide or user manual.
- Possibly a warranty card.
Take a moment to check that all these items are present and in good condition. If anything seems missing or damaged, reach out to the retailer or RCA support right away.
First Steps: Powering On and Initial Configuration
Now that you’ve unpacked your tablet, it’s time to bring it to life! This initial setup is crucial for getting your tablet ready for use.
Charging Your Tablet
It’s a good practice to charge your tablet fully before you begin using it extensively. This ensures a stable power supply during the setup process.
- Connect the USB cable to the charging port on your RCA Tablet 7 Voyager.
- Plug the other end of the USB cable into the power adapter.
- Plug the power adapter into a wall outlet.
- The screen should indicate that it’s charging. Leave it plugged in until the battery icon shows it’s full.
Powering On Your Tablet
Once charged, it’s time to turn it on for the first time.
- Locate the power button on your tablet. It’s usually on the top or side edge.
- Press and hold the power button for a few seconds until the RCA logo appears on the screen.
- The tablet will boot up and guide you through the initial setup steps.
Navigating the Initial Setup Wizard
Your RCA Tablet 7 Voyager will now guide you through a series of screens to personalize your device. Don’t be intimidated; just follow the on-screen prompts.
Language and Region Selection
The first thing you’ll be asked to do is select your preferred language and region. This ensures that your tablet displays information and settings in a way that makes sense to you.
- Tap on your language from the list.
- Tap on your country or region.
- Tap “Next” or the equivalent button to proceed.
Connecting to Wi-Fi
A stable internet connection is essential for downloading apps, updates, and for using many of the tablet’s features.
- The tablet will scan for available Wi-Fi networks.
- Select your home Wi-Fi network from the list.
- Enter your Wi-Fi password. Be mindful of capitalization, as passwords are case-sensitive.
- Tap “Connect.”
- If you don’t have Wi-Fi available, you might have an option to skip this step for now, but it’s highly recommended to connect as soon as possible.
Google Account Setup
Signing in with a Google account is vital for accessing the Google Play Store to download apps, sync your contacts, and use various Google services.
- If you have an existing Google account, tap “Sign In” and enter your email address and password.
- If you don’t have a Google account, tap “Create account.” Follow the prompts to set up a new one. You’ll need to provide basic information like your name and choose a username and password.
- Follow the on-screen instructions to accept Google’s terms and conditions.
Device Protection and Updates
The setup process often includes options for device protection and checking for system updates.
- Location Services: You might be asked if you want to enable location services. This is useful for apps like Maps. You can choose to enable or disable this.
- Set Up Screen Lock: It’s a good idea to set a PIN, password, or pattern to protect your tablet. This prevents unauthorized access.
- System Updates: The tablet may check for and prompt you to install the latest software updates. It’s always recommended to install these, as they often include security improvements and new features. Allow the updates to download and install, which may take some time.
Reviewing Additional Apps
Sometimes, tablets come with pre-installed apps. You might have a chance to review these and decide if you want to keep them.
Finalizing Setup
Once you’ve completed these steps, you’ll usually see a “Welcome” or “All Set” screen. Tap “Finish” or “Get Started” to go to your tablet’s home screen.
Mastering the Proven Dual Camera on Your RCA Tablet 7 Voyager

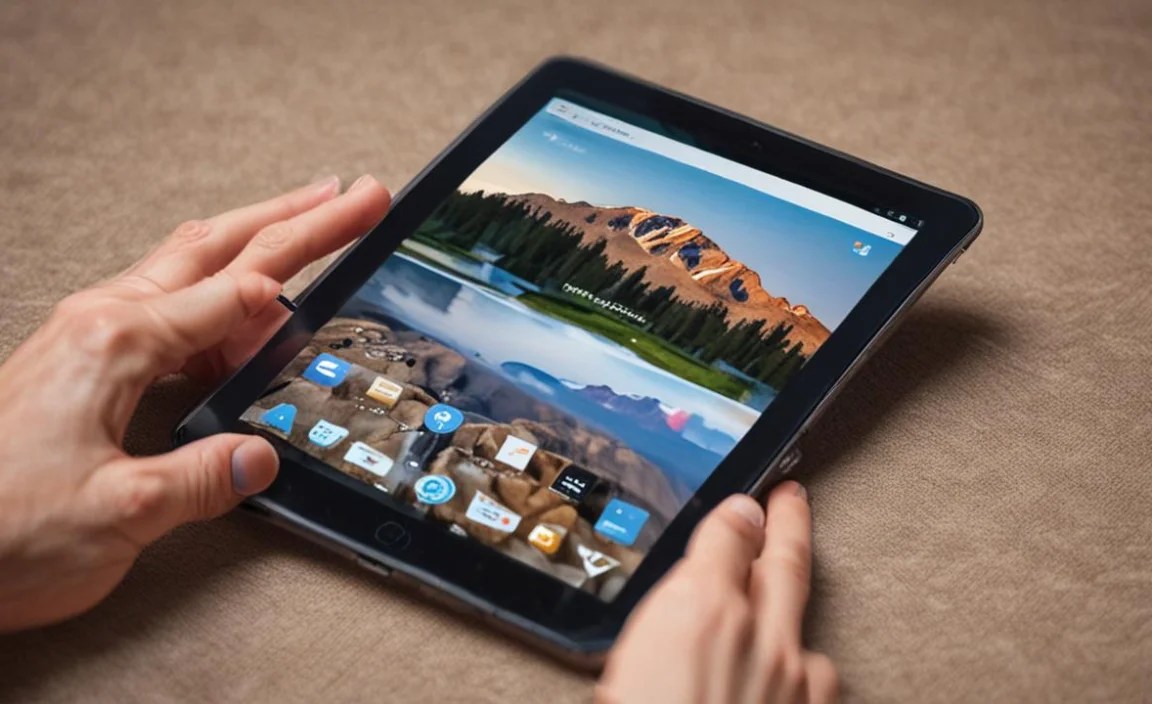
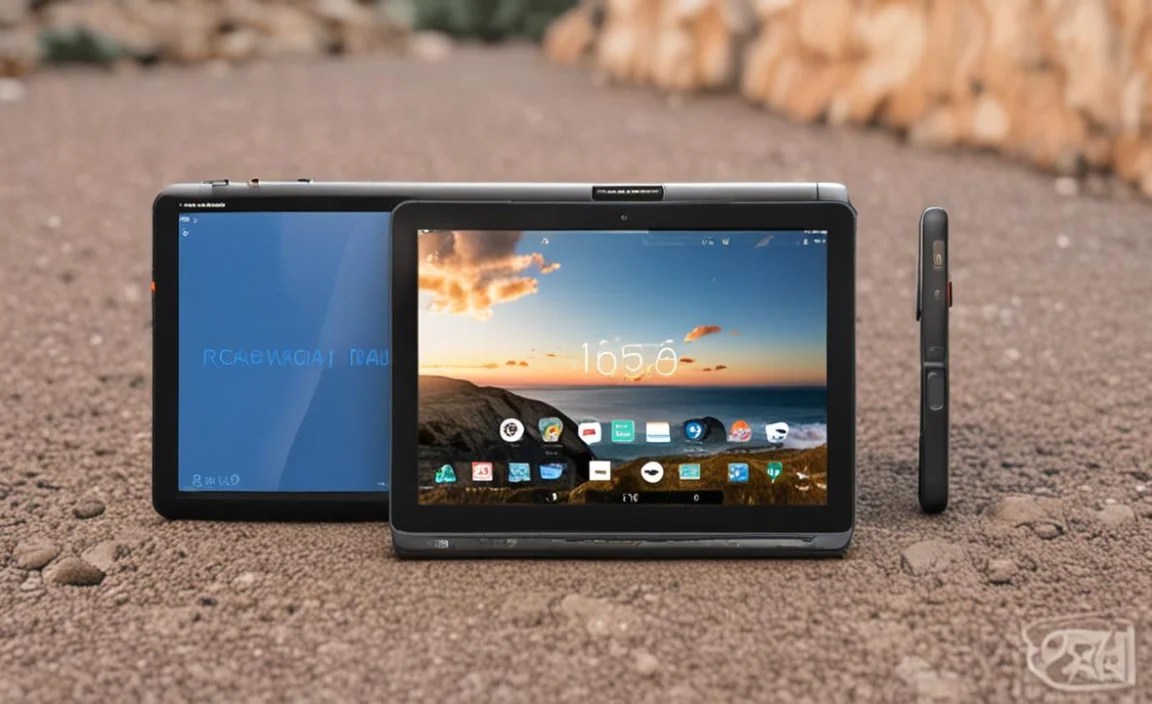
The RCA Tablet 7 Voyager features a dual-camera system, typically meaning it has a front-facing camera and a rear-facing camera. This setup allows you to take selfies and photos of your surroundings. Let’s explore how to use them effectively.
Understanding the Dual Cameras
Rear Camera: This is the main camera located on the back of the tablet. It’s usually higher in resolution and designed for taking photos and videos of the world around you.
Front Camera: Located on the front of the tablet, typically near the screen. This camera is primarily used for selfies, video calls, and sometimes for unlocking your device.
Accessing the Camera App
Locating and opening the camera app is your first step to capturing images.
- From your home screen, look for the Camera app icon. It usually looks like a camera. You might find it on the main screen or in the app drawer.
- Tap the Camera app icon to open it.
Using the Camera App Interface
Once the camera app is open, you’ll see a viewfinder showing what the camera sees. The interface is usually quite simple.
Key elements you’ll typically see:
- Shutter Button: A large circular button, usually at the bottom center of the screen. Tap this to take a photo.
- Mode Selector: Options to switch between Photo, Video, and sometimes other modes like Panorama or Portrait.
- Camera Switcher: An icon (often two arrows in a circle) that lets you toggle between the front and rear cameras.
- Gallery/Photos Icon: A small thumbnail showing your last taken photo. Tapping this will take you to your photo gallery.
- Settings Icon: Usually a gear or cogwheel icon, allowing you to adjust camera settings like resolution, timer, and flash.
Taking Photos with the Rear Camera
This is for capturing landscapes, friends, family, or anything you want to photograph.
- Open the Camera app and ensure the rear camera is active (use the switcher icon if you see the front camera).
- Frame your shot by pointing the tablet at your subject.
- Tap on the screen where you want the camera to focus, especially if it’s a specific part of the image.
- Tap the shutter button to take the picture.
Taking Selfies with the Front Camera
Perfect for capturing your own smiling face!
- Open the Camera app.
- Tap the camera switcher icon to select the front-facing camera.
- Hold the tablet out in front of you to frame your selfie.
- Tap the shutter button to take the photo. Some apps have a timer feature, which can be helpful for group selfies.
Recording Videos
The RCA Tablet 7 Voyager can also capture video.
- Open the Camera app.
- Switch to Video mode using the mode selector.
- Point the camera at your subject.
- Tap the red record button to start recording.
- Tap the stop button (often a square) to end the recording.
Exploring Camera Settings
Don’t forget to explore the camera settings for more control.
- Tap the gear icon within the Camera app.
- Here you can often adjust:
- Resolution: Higher resolution means better quality but larger file sizes.
- Timer: Set a delay before the photo is taken.
- Flash: Control whether the flash is on, off, or automatic.
- Grid Lines: Helps with composition.
Connecting to the Google Play Store for Apps and More

The Google Play Store is your gateway to thousands of applications, games, books, and movies. Setting it up is a key part of maximizing your tablet’s potential.
Accessing the Play Store
- Find the Google Play Store icon on your home screen or in the app drawer. It usually looks like a colorful triangle.
- Tap the icon to open the Play Store.
- If you signed in with your Google account during initial setup, you should be automatically logged in. If not, you’ll be prompted to sign in.
Searching and Downloading Apps
The Play Store is very user-friendly.
- Use the search bar at the top of the Play Store to find specific apps (e.g., “Facebook,” “Netflix,” “Microsoft Office”).
- Browse through different categories or curated lists to discover new apps.
- Tap on an app to see its details, including description, reviews, screenshots, and price (many are free).
- Tap the “Install” button for free apps, or follow the instructions to purchase paid apps.
- The app will download and install automatically. An icon for the new app will appear on your home screen or in your app drawer.
Troubleshooting Common Setup Issues
Even with straightforward setups, occasional glitches can occur. Here are some common issues and how to resolve them.
Tablet Won’t Turn On
Solution: Ensure the tablet is charged. Connect it to the charger for at least 30 minutes, then try the power button again. If it still doesn’t power on, you might need to contact customer support.
Wi-Fi Connection Problems
Solution: Double-check your Wi-Fi password for accuracy. Try restarting your router and your tablet. If persistent, try forgetting the network in your tablet’s settings and reconnecting.
Google Account Sign-In Errors
Solution: Verify your Google account email and password. Make sure you have a stable internet connection. If you’re still having trouble, try resetting your Google account password via a web browser.
Apps Not Installing from Play Store
Solution: Check your internet connection. Ensure you have enough free storage space on your tablet. Try clearing the cache and data for the Google Play Store app (Settings > Apps > Google Play Store > Storage > Clear Cache & Clear Data) and then restart your tablet.
Maintaining Your RCA Tablet 7 Voyager
Once your tablet is set up, a little ongoing care will keep it running smoothly.
Regular Software Updates
Keep your tablet’s operating system and apps updated. Updates often fix bugs, improve performance, and enhance security. You’ll usually be notified when an update is available.
Keep Storage Clean
As you download more apps and media, your storage can fill up. Regularly delete unused apps, old photos, or videos that you no longer need, or move them to cloud storage. Android devices often have a built-in storage manager to help with this.
Restart Periodically
A simple restart can often clear out temporary glitches and refresh your tablet’s system. Try restarting your tablet at least once a week.
RCA Tablet 7 Voyager Specifications at a Glance
Understanding the basic specs can help you appreciate what your tablet can do.
| Feature | Specification |
|---|---|
| Display Size | 7 inches |
| Camera | Dual Camera (Front and Rear) |
| Operating System | Android |
| Storage | Varies (often expandable via microSD) |
| Processor | Typically Quad-core |
| Connectivity | Wi-Fi, Bluetooth |
Frequently Asked Questions (FAQ)
Q1: Do I need a Google account to set up my RCA Tablet 7 Voyager?
A1: While you can technically set up the tablet without signing into a Google account, it is highly recommended. A Google account is necessary to access the Google Play Store to download apps, sync data, and use many essential Google services. Tablets with Android often require it for full functionality.
Q2: Can I expand the storage on my RCA Tablet 7 Voyager?
A2: Many RCA tablets, including the Voyager series, support expandable storage via a microSD card. Check the tablet’s specifications or look for a microSD card slot on the device. This is a great way to store more photos, videos, and apps.
Q3: How do I take a screenshot on my RCA Tablet 7 Voyager?
A3: The standard method for taking a screenshot on most Android devices is to press and hold the Power button and the Volume Down button simultaneously for a second or two. You should see a flash on the screen or a notification indicating that the screenshot has been saved.
Q4: What is the “dual camera” feature on my tablet?
A4: The “dual camera” typically refers to your tablet having both a front-facing camera and a rear-facing camera. The rear camera is for taking general photos and videos, while the front camera is designed for selfies and video calls. This gives you versatility for capturing different types of content.
Q5: My tablet is running slow. What can I do?
A5: First, try restarting your tablet. If the problem persists, close any apps you aren’t actively using, clear the cache of frequently used apps (in Settings > Apps), and delete unused applications or files to free up storage space. Ensure your tablet’s software is also up-to-date.
Q6: How do I connect my tablet to a computer?
A6: You can typically connect your RCA tablet to a computer using the USB charging cable. Once connected, you may need to swipe down from the top of your tablet’s screen to access notifications and select the USB connection mode (e.g., “File Transfer” or “MTP”). Your tablet should then appear as a drive on your computer.
Q7: Is the RCA Tablet 7 Voyager good for beginners?
A7: Yes, the RCA Tablet 7 Voyager is generally considered a good option for beginners. It offers essential tablet functionalities, a simple Android interface, and the ability to connect to Wi-Fi and download apps, making it a user-friendly device for everyday tasks and entertainment.
Conclusion: Your RCA Tablet 7 Voyager is Ready for Adventure!
Setting up your RCA Tablet 7 Voyager, from the initial power-on to mastering its dual camera, is a journey designed to be simple and rewarding. We’ve covered everything from what to expect in the box to connecting to Wi-Fi, signing into your Google account, and diving into the fun of photography.
Remember, the goal is to get you using your tablet with confidence. The dual cameras are there to help you capture life’s moments, big and small. Don’t hesitate to experiment with different modes and settings. With a stable internet connection via the Google Play Store, a world of apps and possibilities awaits.
If you ever encounter a hiccup, remember the troubleshooting tips we’ve shared. Most common issues are easily resolved with a few simple steps. Enjoy exploring, learning, and connecting with your new RCA Tablet 7 Voyager! Your digital adventure is just beginning.
Your tech guru in Sand City, CA, bringing you the latest insights and tips exclusively on mobile tablets. Dive into the world of sleek devices and stay ahead in the tablet game with my expert guidance. Your go-to source for all things tablet-related – let’s elevate your tech experience!