Easily set up your RCA Tablet 7 Voyager with this essential guide. Learn to connect to Wi-Fi, sign into your Google account, and start downloading apps. We’ll walk you through every step, making your new tablet ready for fun and productivity in minutes.
Welcome to the exciting world of your new RCA Tablet 7 Voyager! It’s a fantastic little device, perfect for browsing the web, catching up on shows, or keeping in touch with loved ones. But if you’re new to tablets, getting it set up for the first time can feel a bit… overwhelming. Don’t worry, we’ve all been there! This guide is designed to walk you through the RCA Tablet 7 Voyager setup process, step-by-step. We’ll make it simple and stress-free, so you can start enjoying your tablet in no time. Get ready to dive in!
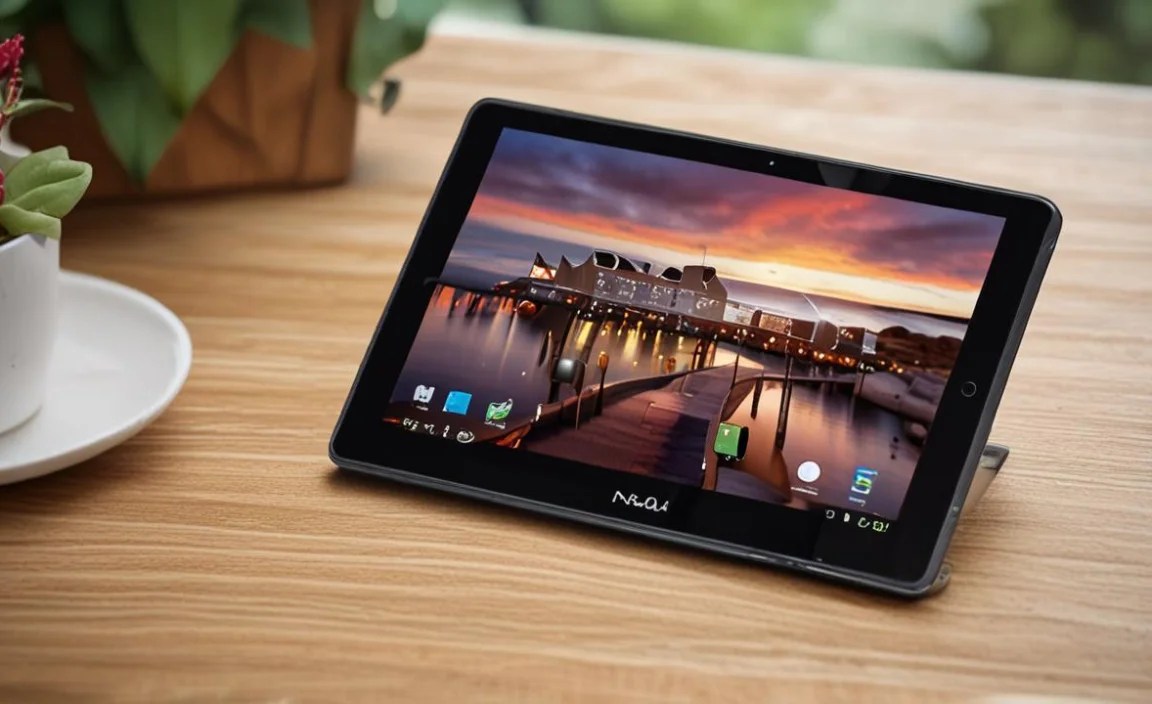
Unboxing Your RCA Tablet 7 Voyager: What to Expect

The first step in any new tech adventure is unboxing! It’s like unwrapping a present. When your RCA Tablet 7 Voyager arrives, you’ll find everything you need to get started right in the box. This makes the initial setup a breeze.
Here’s usually what you’ll find inside:
The RCA Tablet 7 Voyager: Your shiny new tablet, protected in its packaging.
USB Charging Cable: This is how you’ll power up your tablet.
AC Power Adapter: This plugs into the wall outlet to charge your tablet.
Quick Start Guide: A brief manual that often has basic setup instructions.
Warranty Information: Important details about your tablet’s warranty.
It’s always a good idea to read through the Quick Start Guide, but don’t worry if it’s a bit confusing. That’s what this guide is for!
Charging Your Tablet First
Before you even think about turning your tablet on, give it a good initial charge. This ensures you won’t run out of power in the middle of the setup process.
1. Connect the USB Cable: Plug one end of the USB cable into the charging port on your tablet. This is usually found on the bottom or side edge of the device.
2. Connect the Power Adapter: Plug the other end of the USB cable into the AC power adapter.
3. Plug into the Wall: Plug the AC power adapter into a working electrical outlet.
4. Charge Until Full: Let the tablet charge until the battery indicator shows it’s full. This might take a couple of hours. It’s better to be safe and let it charge for at least 3-4 hours for the first time.
Powering On and Initial Setup Steps
Once your tablet has a good charge, it’s time to bring it to life! The first time you power on your RCA Tablet 7 Voyager, it will guide you through a series of setup screens. This is where you’ll connect to the internet and set up your accounts.
1. Powering On Your Tablet
Locate the power button. It’s usually on the top or side edge of the tablet, often with a small power symbol (a circle with a line through the top). Press and hold the power button for a few seconds. You should see the RCA logo appear, followed by the Android setup screen.
2. Welcome Screen and Language Selection
The first screen you see will be a “Welcome” message. It will prompt you to select your preferred language.
Tap your language: Scroll through the list and tap on the language you want to use.
Tap “Start” or “Next”: Once your language is selected, tap the button to proceed.
3. Connecting to Wi-Fi
This is an essential step. To download apps, browse the web, and update your tablet, you need an internet connection.
Select your Wi-Fi network: Your tablet will scan for available Wi-Fi networks. Find the name (SSID) of your home Wi-Fi network in the list and tap on it.
Enter your Wi-Fi password: A keyboard will appear. Carefully type in your Wi-Fi password. Passwords are case-sensitive, so pay close attention to capital letters and numbers.
Tap “Connect”: Once the password is entered correctly, tap the “Connect” button.
If you don’t have Wi-Fi: If you don’t have Wi-Fi at the moment, you might see an option to skip this step and connect later. However, it’s highly recommended to connect to Wi-Fi for the best experience.
Tips for Strong Wi-Fi Connection:
Be Close to Your Router: Make sure you’re within a reasonable range of your Wi-Fi router.
Correct Password: Double-check your Wi-Fi password for accuracy. It’s easy to make a typo!
Check Your Router: If you’re having trouble, try restarting your Wi-Fi router.
4. Accepting Google Terms of Service
After connecting to Wi-Fi, you’ll likely be asked to agree to Google’s terms of service. This is standard for Android devices. Take a moment to review them if you wish, and then tap to accept.
5. Setting Up Your Google Account
A Google account is crucial for using your tablet effectively. It allows you to download apps from the Google Play Store, backup your data, and sync services like Gmail and Google Calendar.
Sign In with Your Existing Google Account: If you already have a Gmail address or use other Google services, you can sign in with your existing account.
Enter your email address and tap “Next”.
Enter your password and tap “Next”.
Google might ask you to verify your identity (e.g., with a code sent to another device). Follow the on-screen prompts.
Create a New Google Account: If you don’t have a Google account, you can create one now.
Tap on “Create account”.
Choose whether it’s for yourself or to manage a child’s account.
Follow the steps to enter your first name, last name, desired email address, and a strong password.
You’ll then need to provide your date of birth and gender.
Google will offer to add a recovery email or phone number, which is highly recommended to help you regain access if you forget your password.
Review and accept Google’s Terms of Service and Privacy Policy.
6. Google Services and Settings
Once signed in, you’ll be presented with a few options regarding Google services:
Restore from a previous device: If you’re upgrading from another Android device, you might be able to restore your apps and settings. Choose this option if you want to transfer data.
Set up as new device: If you want a fresh start, select this.
Location Services: You’ll be asked if you want to allow Google to use your location for services like maps and weather. It’s usually a good idea to enable this for a better user experience.
Google Assistant Settings: You may have an option to set up Google Assistant. You can skip this for now if you prefer.
Device Protection/Find My Device: This is an important security feature that helps you locate or remotely lock your tablet if it’s lost or stolen. It’s recommended to enable this.
7. Set Up a Screen Lock
For security, it’s vital to set up a screen lock. This prevents unauthorized access to your tablet.
Choose a Method: Your RCA Tablet 7 Voyager will likely offer several options:
Pattern: Draw a pattern on a grid of dots.
PIN: Enter a numerical code.
Password: Create a more complex password.
None: No screen lock (not recommended for security).
Follow the Prompts: You’ll be guided to set up your chosen lock method. This usually involves entering your chosen PIN, pattern, or password twice to confirm.
8. Finalizing Setup
The tablet will then complete the setup process. This might involve downloading some essential system apps. You’ll see a loading screen or a progress bar. Once it’s done, you’ll be taken to your tablet’s home screen! Congratulations, your RCA Tablet 7 Voyager is now set up and ready to go.
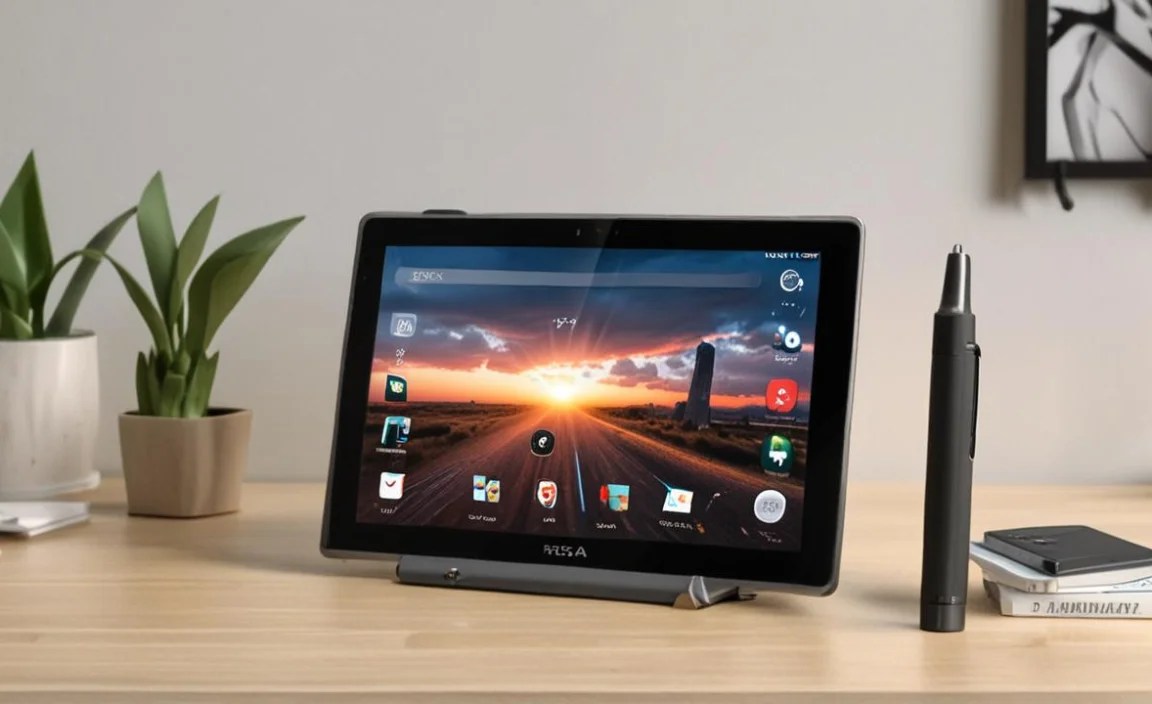
Navigating Your RCA Tablet 7 Voyager: The Basics

Now that your tablet is set up, let’s get familiar with how to use it. The RCA Tablet 7 Voyager runs on Android, one of the most popular operating systems for mobile devices.
The Home Screen
This is your main starting point. You’ll see app icons, a search bar, and potentially widgets (like a clock or weather display).
App Icons: Tap an icon to open an app.
App Drawer: Usually, there’s an icon (often looks like a grid of dots or a series of lines) that you can tap to see all the apps installed on your tablet. Swipe up from the bottom of the screen to access it.
Widgets: These provide quick information or shortcuts. You can often add, remove, or resize them by touching and holding an empty space on the home screen.
The Navigation Bar
At the bottom of the screen, you’ll find your navigation buttons:
Back Button: (Triangle or arrow pointing left) Takes you to the previous screen or action.
Home Button: (Circle or house icon) Takes you back to the main home screen from anywhere.
Recent Apps Button: (Square or three lines) Shows you a list of apps you’ve recently opened, allowing you to switch between them.
The Notification Shade and Quick Settings
Notifications: Swipe down from the very top of the screen to see your notifications (e.g., new emails, app alerts).
Quick Settings: Swipe down again from the top (or all the way down with one swipe) to access quick settings controls. Here you can easily toggle Wi-Fi, Bluetooth, adjust screen brightness, and more.
Installing and Managing Apps with the Google Play Store

The Google Play Store is your gateway to a universe of apps, games, movies, books, and more.
How to Download Apps
1. Find the Play Store Icon: Look for the colorful triangle icon on your home screen or in your app drawer. Tap it to open.
2. Search for Apps: Use the search bar at the top to type the name of the app you’re looking for (e.g., “Netflix”, “Facebook”, “Solitaire”).
3. Browse Categories: You can also browse through different categories like “Games,” “Kids,” “Entertainment,” etc.
4. Select an App: Tap on an app to see its details, read reviews, and look at screenshots.
5. Tap “Install”: If you want to download the app, tap the green “Install” button.
6. Accept Permissions (if prompted): Some apps might ask for certain permissions to function. Review them and tap “Accept” if you’re comfortable.
7. Wait for Installation: The app will download and install automatically. You’ll see its icon appear on your home screen or in your app drawer once it’s ready.
Managing Your Apps
Uninstalling Apps:
1. Find the app you want to remove.
2. Tap and hold the app icon.
3. Drag it to the “Uninstall” option that appears at the top of the screen, or tap an “App Info” option and select “Uninstall.”
Updating Apps: The Play Store usually updates apps automatically in the background when connected to Wi-Fi. You can also manually check for updates:
1. Open the Play Store.
2. Tap your profile icon in the top right corner.
3. Select “Manage apps & device.”
4. Under “Updates available,” tap “See details” to update individual apps or tap “Update all.”
Essential Settings to Customize
Your RCA Tablet 7 Voyager can be tailored to your preferences. Here are some important settings you might want to adjust:
1. Display Settings
Brightness: Access this via Quick Settings or by going to `Settings > Display > Brightness level`. You can adjust it manually or turn on “Adaptive brightness” for automatic adjustments.
Screen Timeout: Control how long the screen stays on when inactive (`Settings > Display > Screen timeout`). A shorter timeout saves battery, while a longer one is convenient if you read a lot.
Font Size: Make text easier to read (`Settings > Display > Font size`).
2. Sound Settings
Volume: Adjust media, alarm, and notification volumes (`Settings > Sound`).
Ringtone and Notification Sounds: Choose different sounds for alerts.
Vibrate on Touch: Toggle this on or off.
3. Network & Internet Settings
Wi-Fi: Connect to or manage your Wi-Fi networks (`Settings > Network & internet > Wi-Fi`).
Data Usage: Monitor how much data you’re using (if you have a cellular connection, which the Voyager typically doesn’t).
4. Battery Settings
See which apps are using the most battery power (`Settings > Battery`).
Enable battery saver mode to extend battery life.
5. Storage Settings
Check how much storage space you have left (`Settings > Storage`).
See which apps and files are taking up the most space.
6. Accessibility Settings
For users who need extra help, Android offers robust accessibility features:
Text Size: Already mentioned, but worth noting here too.
Color Correction/Inversion: Helps users with certain visual impairments.
TalkBack: A screen reader for visually impaired users.
Magnification: Allows you to zoom in on parts of the screen.
You can find all these options by tapping the “Settings” app icon (looks like a gear).
Tips for Seniors Using the RCA Tablet 7 Voyager
The RCA Tablet 7 Voyager is a great choice for seniors due to its user-friendly interface and affordability. Here are some tips to make the experience even smoother:
Larger Font Sizes and Icon Sizes
Increase Font Size: Go to `Settings > Display > Font size` and select “Large” or “Largest.”
Increase Display Size: Some tablets allow you to increase the size of everything on the screen. Check under `Settings > Display > Display size`.
Launcher Apps: Consider using a “launcher” app from the Play Store that simplifies the interface with very large icons and clear text. Examples include “Big Launcher” or “Easy Launcher.”
Simplified User Interface
Home Screen Organization: Keep only the essential apps on your home screen and group them into folders.
Turn off Animations: For a snappier feel, you can disable some animations in Developer Options (this is a bit more advanced, but helpful).
Using the Camera and Video Calls
Built-in Camera App: The camera app is usually easy to find. Practice taking photos and videos.
Video Calling Apps: Download popular and easy-to-use apps like WhatsApp, Skype, or Google Duo to stay connected with family. These apps usually have simple interfaces for making calls.
Security for Seniors
Strong Screen Lock: Always use a PIN or password.
Be Wary of Links: Advise users not to click on suspicious links in emails or messages, as these can lead to scams. The Federal Trade Commission (FTC) has excellent resources on online safety for seniors.
Google Family Link (Optional): If a family member or caregiver wants to help manage the tablet remotely, Google Family Link can offer oversight.
Voice Commands with Google Assistant
“Hey Google”: Encourage the use of “Hey Google” (after setting it up) for tasks like looking up information, setting reminders, or making calls. It’s a great way to interact without complex typing.
Troubleshooting Common Issues
Even with the setup guide, you might run into a glitch. Here are solutions to common problems:
Tablet is Slow or Unresponsive
Restart the Tablet: This is the first and often most effective fix. Press and hold the power button and select “Restart.”
Close Unused Apps: Swipe up from the bottom and tap the Recent Apps button. Swipe away any apps you’re not actively using.
Clear Cache: For specific apps that are misbehaving, you can clear their cache. Go to `Settings > Apps > [Select App] > Storage & cache > Clear cache`.
Check Storage: If your storage is almost full, it can slow down the tablet. Delete unnecessary apps or files.
Apps Crashing or Not Working
Restart the App: Close the app using the Recent Apps view and reopen it.
Update the App: Make sure the app is updated through the Play Store.
Update Tablet Software: Ensure your tablet’s operating system is up to date (`Settings > System > System update`).
Reinstall the App: Uninstall the app and then reinstall it from the Play Store.
Wi-Fi Not Connecting
Restart Your Tablet and Router: A simple restart of both devices can often resolve connectivity issues.
Forget and Rejoin Network: Go to `Settings > Network & internet > Wi-Fi`, tap on your network, and select “Forget.” Then, tap on it again and re-enter the password.
Check Router: Ensure your Wi-Fi router is working and broadcasting its name.
Battery Draining Too Quickly
Lower Screen Brightness: A brighter screen uses more power.
Reduce Screen Timeout: Set your screen to turn off faster.
Close Background Apps: Apps running in the background consume battery.
Turn Off Unused Features: Disable Wi-
Your tech guru in Sand City, CA, bringing you the latest insights and tips exclusively on mobile tablets. Dive into the world of sleek devices and stay ahead in the tablet game with my expert guidance. Your go-to source for all things tablet-related – let’s elevate your tech experience!