Ready to supercharge your RCA Tablet Apollo for gaming? Rooting your device unlocks its full potential, letting you install custom apps, remove bloatware, and boost performance for a smoother, more immersive gaming experience. Worried it’s too complicated? Don’t be! We’ll guide you through every step with easy-to-understand instructions. Let’s get your Apollo ready to dominate your favorite games!
RCA Tablet Apollo Rooting: Your Ultimate Gaming Upgrade Revealed
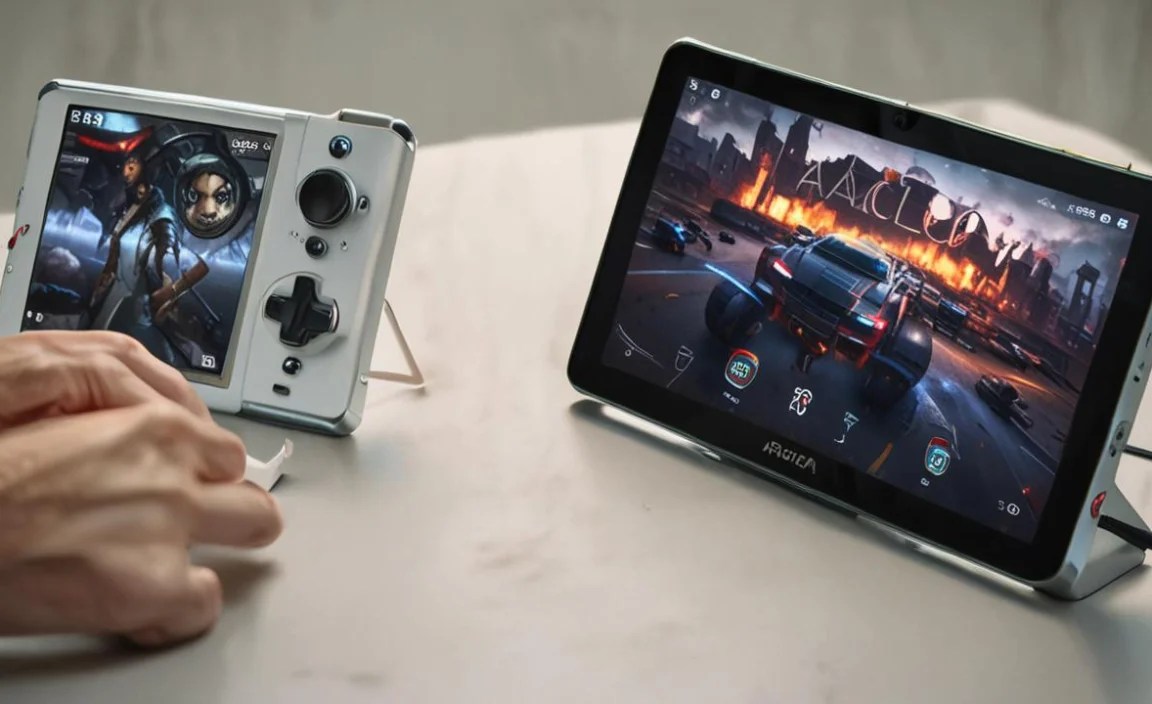
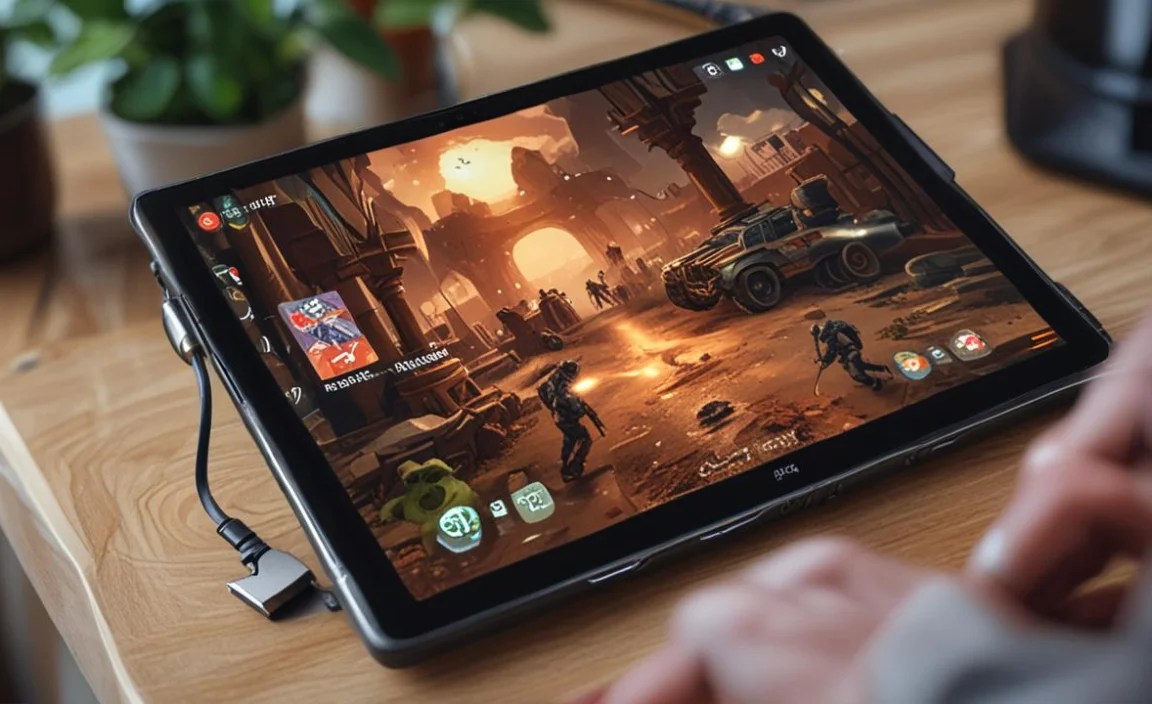
Hello there, gaming enthusiasts and RCA Tablet Apollo owners! Walter Moore here from Tabletzoo, and I’m thrilled to dive into a topic that can truly transform your tablet’s gaming capabilities: rooting your RCA Tablet Apollo. Many of you might be looking to squeeze more performance, install specialized gaming apps, or simply get rid of those pre-installed programs that are just taking up valuable space. It’s a common desire, especially when your favorite mobile game starts to stutter or lag. The good news is, with a little guidance, the process isn’t as daunting as it might seem. We’re going to break down the entire RCA Tablet Apollo rooting process into simple, manageable steps. Get ready to unlock a whole new level of mobile gaming!
Why Root Your RCA Tablet Apollo for Gaming? The Undeniable Advantages

Rooting your RCA Tablet Apollo isn’t just about following a trend; it’s about gaining control and unlocking features that can significantly enhance your gaming sessions. Think of it like unlocking the full potential of your device, allowing it to perform beyond its factory settings. This can be a game-changer, especially for mobile gamers who demand smooth frame rates and quick response times.
- Boosted Gaming Performance: This is arguably the biggest reason gamers root their devices. Rooting allows you to overclock your CPU (carefully, of course!) or use performance-tuning apps to get those extra frames per second. This means less lag, smoother gameplay, and a more responsive experience, especially in demanding titles.
- Remove Bloatware: Tired of those pre-installed apps that you never use? Rooting gives you the power to uninstall them completely. This frees up valuable storage space and reduces background processes that can eat into your tablet’s resources, positively impacting performance.
- Install Custom ROMs: While perhaps a bit more advanced, custom ROMs can offer a cleaner, more optimized Android experience tailored for performance. Some ROMs are specifically designed with gaming in mind, featuring performance tweaks and minimal overhead.
- Advanced Customization: Rooting opens the door to a world of customization. You can modify system files, change themes beyond what’s normally allowed, and install specialized apps that require root access, many of which are geared towards enhancing gaming.
- Emulators and Advanced Apps: Want to play retro console games on your Apollo using an emulator? Many of the best emulators perform much better, or even require, root access for optimal file management and performance tuning.
Understanding Rooting: What Exactly Are We Doing?
Before we dive into the “how-to,” let’s make sure we’re all on the same page about what rooting actually means, especially in the context of Android devices like the RCA Tablet Apollo. Think of your tablet’s operating system like a house. When you buy it, you have access to the main rooms (apps, settings) but some areas (the core system files) are locked off by the manufacturer. Rooting is like getting the master key to that house. It grants you privileged control, or “root access,” over various Android subsystems.
This is different from having administrator access on a Windows PC. On Android, the manufacturer and Google wisely lock down certain system files to prevent accidental damage or security breaches. Rooting bypasses these restrictions, giving you the power to modify the system itself. This power comes with responsibility, and it’s important to proceed with caution, as messing with core system files can indeed lead to issues if not done correctly.
For gaming, this unlocked access means we can tweak settings that aren’t normally accessible, allowing for optimizations that lead to a noticeably better experience in your favorite games. It’s about taking your tablet’s performance to the next level.
Before You Begin: Essential Preparations for RCA Tablet Apollo Rooting

Taking the plunge into rooting requires a little preparation to ensure a smooth and successful process. Skipping these steps can lead to headaches, data loss, or even a bricked device (meaning it won’t turn on anymore – a scary thought!). So, let’s get your RCA Tablet Apollo ready for its upgrade.
1. Back Up Everything! (The Cardinal Rule)
This is non-negotiable. Rooting will wipe your device clean, just like a factory reset. You absolutely must back up all your important data. This includes:
- Photos and Videos
- Contacts
- App Data (for apps that don’t sync to the cloud)
- Documents
- Messages
How to Back Up:
- Google Services: Ensure your contacts, calendar, and basic app data are synced with your Google account. You can check this in your tablet’s Settings > Accounts.
- Cloud Storage: Use services like Google Drive, Dropbox, or OneDrive to back up photos, videos, and documents.
- PC/Laptop: Manually transfer media files and important documents from your tablet to your computer via USB cable.
- Dedicated Backup Apps: For app data that doesn’t sync, consider using a backup app (though many advanced ones require root after you’ve rooted, so focus on manual and cloud methods pre-root).
2. Charge Your Tablet Fully
A power interruption during the rooting process can be disastrous. Make sure your RCA Tablet Apollo is charged to at least 80%, but ideally 100%, before you start. Connect it to its charger and leave it plugged in throughout the process.
3. Gather Your Tools: What You’ll Need
You won’t need a toolbox for this, but you will need a few specific items:
- Your RCA Tablet Apollo: Obviously!
- A Reliable USB Cable: The one that came with your tablet is usually best.
- A Computer (Windows Recommended): Most rooting tools and drivers are Windows-based and work best on this operating system. A Mac or Linux machine might require additional steps or specific software versions.
- Stable Internet Connection: You’ll be downloading necessary files and drivers.
- Specific Rooting Software/Tools: We’ll discuss these a bit later, but typically, you’ll need a driver installation and a dedicated rooting utility.
4. Enable USB Debugging and Unknown Sources
These settings are crucial for allowing your computer to communicate with your tablet and for installing apps from outside the Google Play Store. You’ll find them in your tablet’s settings.
To Enable Developer Options:
- Go to Settings on your RCA Tablet Apollo.
- Scroll down and tap on About tablet.
- Find the Build number.
- Tap on the Build number repeatedly – usually 7 times – until you see a message saying, “You are now a developer!”
To Enable USB Debugging:
- Go back to the main Settings menu.
- You should now see a new option called Developer options. Tap on it.
- Find and toggle on USB debugging. A confirmation prompt will appear; tap OK.
To Enable Unknown Sources:
- Go to Settings.
- Navigate to Security (or sometimes Privacy, depending on your Android version).
- Find the option for Unknown sources and toggle it on. You’ll likely get a warning; accept it to proceed.
5. Install Necessary Drivers
Your computer needs to recognize your RCA Tablet Apollo. You’ll likely need to install the correct ADB (Android Debug Bridge) and Fastboot drivers. These are often bundled together.
- Search online for “RCA Tablet Apollo USB Drivers” or “ADB Fastboot Drivers for Android”.
- Download a reputable driver package. XDA Developers is a great community for finding such drivers. A quick search on their forums can often yield reliable results.
- Install the drivers on your Windows PC. You might need to restart your computer afterward.
The RCA Tablet Apollo Rooting Tutorial for Gaming: A Step-by-Step Approach

Now that we’ve prepared your RCA Tablet Apollo, it’s time to get down to business. The exact method for rooting can vary slightly between Android versions and specific device models. However, many RCA tablets can be rooted using readily available, user-friendly tools that automate much of the process. We’ll outline a common and effective method that focuses on simplicity and safety for beginners.
Disclaimer: While this guide aims to be comprehensive and safe, rooting inherently carries risks. Always proceed with caution. Tabletzoo, Walter Moore, and its affiliates are not responsible for any damage that may occur to your device. By proceeding, you agree to take full responsibility for your actions.
Choosing Your Rooting Method: One-Click Wonders
For beginner-friendly rooting, “one-click” rooting tools are your best bet. These applications are designed to detect your device, download the appropriate files, and perform the rooting process automatically. While not foolproof and sometimes requiring specific versions for specific devices, they are far less intimidating than manual command-line methods.
Popular and generally reputable one-click root tools include:
- KingRoot: One of the most well-known tools that supports a vast number of Android devices.
- KingoRoot: Similar to KingRoot, often available as both a PC application and an Android app.
- iRoot: Another popular option that has a high success rate on many devices.
Important Note: Always download these tools from their official websites or trusted sources like XDA Developers. Be wary of unofficial downloads, as they may contain malware.
Step-by-Step: Using a One-Click Root Tool (Example with KingoRoot PC)
This example uses KingoRoot PC as it’s a widely recognized tool and generally straightforward for beginners. The exact screens might differ slightly based on the tool you choose and your device’s specific Android version.
Phase 1: Setting Up Your PC and Tablet
- Download KingoRoot: Go to the official KingoRoot website and download the PC version.
- Install KingoRoot: Run the downloaded installer and follow the on-screen instructions to install KingoRoot on your Windows computer.
- Connect Your Tablet: Plug your RCA Tablet Apollo into your computer using the USB cable.
- Enable USB Debugging: If you haven’t already, follow the steps outlined in the “Before You Begin” section to enable USB Debugging on your tablet. A prompt might appear on your tablet asking to “Allow USB debugging from this computer?” Tap “OK” or “Allow.”
- Launch KingoRoot: Open the KingoRoot application on your PC. It should automatically detect your connected tablet. If it doesn’t, make sure your USB drivers are installed correctly and try a different USB port or cable.
Phase 2: The Rooting Process
- Initiate Rooting: Once KingoRoot detects your tablet, you’ll likely see a prominent “Root” button. Click it.
- Wait Patiently: KingoRoot will now attempt to root your device. This process can take several minutes, sometimes up to 15-20 minutes or more. Do not disconnect your tablet, and do not turn off your computer or tablet. The software will try various rooting exploits until it finds one that works.
- Success or Failure: At the end of the process, KingoRoot will inform you whether the rooting was successful. It might prompt you to restart your tablet.
- Restart Your Tablet: If successful, follow the prompt to restart your RCA Tablet Apollo.
Phase 3: Verification
- Check for Superuser App: Once your tablet restarts, look for a new app on your app drawer, usually called “Superuser,” “KingUser,” or similar. This app manages root permissions.
- Install a Root Checker App: For definitive confirmation, download a “Root Checker” app from the Google Play Store. Open it, and it will scan your device to confirm if root access is properly installed.
If the Root Checker confirms root access, congratulations! You’ve successfully rooted your RCA Tablet Apollo. If it fails, don’t despair. You can try the process again, ensure your drivers and USB debugging are correctly set up, or try a different one-click root tool. Sometimes, a specific Android version or security patch on the tablet can make rooting tricky, and you might need to research device-specific methods on forums like XDA Developers.
Post-Rooting Essentials: Securing and Optimizing Your Gaming Device
You’ve done it! Your RCA Tablet Apollo is now rooted, and you’re one step closer to a superior gaming experience. But don’t stop here. A few extra steps will ensure your device is secure and optimized for peak performance.
1. Install a Root Management App
The “Superuser” or “KingUser” app that came with your rooting tool is essential. When any app requests root access (e.g., a performance tuner, an advanced file manager, or an emulator), this app will pop up. You’ll have the option to grant or deny the request.
- Learn to Use It: Familiarize yourself with how to grant and deny permissions carefully. Only grant root access to apps you trust completely.
- Consider SuperSU (Optional but Recommended): Many users prefer SuperSU (available on the Play Store or via custom recovery). It’s often considered more robust and offers better control over root permissions than the default apps provided by one-click root tools. You might be able to install SuperSU after rooting, often through a custom recovery like TWRP or by flashing its ZIP file.
2. Freeze or Uninstall Bloatware for Performance Gains
Now you can finally get rid of those pesky pre-installed apps! Apps that you uninstall might not actually be removed from the system partition, but freezing them prevents them from running in the background, saving RAM and CPU resources crucial for gaming.
- Use your Root Management App: Many Superuser apps have a “Debloater” or “App Manager” function that allows you to freeze or uninstall system apps.
- Be Cautious: Do NOT freeze or uninstall critical system apps (e.g., System UI, Google Play Services). If you’re unsure about an app, search for its name online to see if it’s safe to remove or disable.
- Common Bloatware to Remove/Freeze: Manufacturer-specific apps, pre-loaded games you don’t play, duplicate apps (e.g., two browser apps).
3. Explore Performance Tuning Apps
With root access, you unlock the ability to use apps that can fine-tune your tablet’s performance. These can:
- Adjust CPU Governor: The CPU governor controls how your processor speeds up or slows down. Root apps can allow you to set it to a more performance-oriented mode.
- Manage background processes: Some apps help you control which apps can run in the background.
- Overclocking (Use with Extreme Caution): For the more adventurous, some apps allow you to increase the CPU clock speed. This can provide a significant performance boost but also generates more heat and can potentially damage your device if done incorrectly or without proper cooling. Always research safe limits for your specific device.
Examples of such apps (often found on the Play Store or XDA Developers) include apps for kernel tuning, CPU control, and RAM management. Always read reviews and understand what an app does before using it.
4. Install a Custom Recovery (Optional but Powerful)
While not strictly necessary for basic rooting, installing a custom recovery like TWRP (Team Win Recovery Project) is a significant step for advanced users. A custom recovery allows you to:
- Create full Nandroid backups (image backups of your entire system).
- Flash custom ROMs.
- Install ZIP files containing mods, kernels, and other system-level tweaks.
- Easily unroot your device if needed.
Installing TWRP usually involves unlocking your bootloader (another step that might wipe your device) and flashing the recovery image via Fastboot commands. This is a more advanced topic, but if you’re serious about customizing your tablet for gaming, it’s worth researching for your specific RCA Tablet Apollo model after you’ve achieved root access.
Enhancing Your Gaming Experience: What Rooting Unlocks
So, you’ve rooted your RCA Tablet Apollo, backed up your data, and cleaned up some bloatware. Now,
Your tech guru in Sand City, CA, bringing you the latest insights and tips exclusively on mobile tablets. Dive into the world of sleek devices and stay ahead in the tablet game with my expert guidance. Your go-to source for all things tablet-related – let’s elevate your tech experience!