Recently graphic tablets are widely used for creating fantastic digital arts. These tablets are available for a wide range of prices. Though professionals use high-performing graphic tablets, as a beginner or intermediate artist you can choose a mid-range tablet, like Huion.
Huion is a very easy-to-use and highly functional tablet at the same time. This tablet is very effective, but you must know how to set up it.
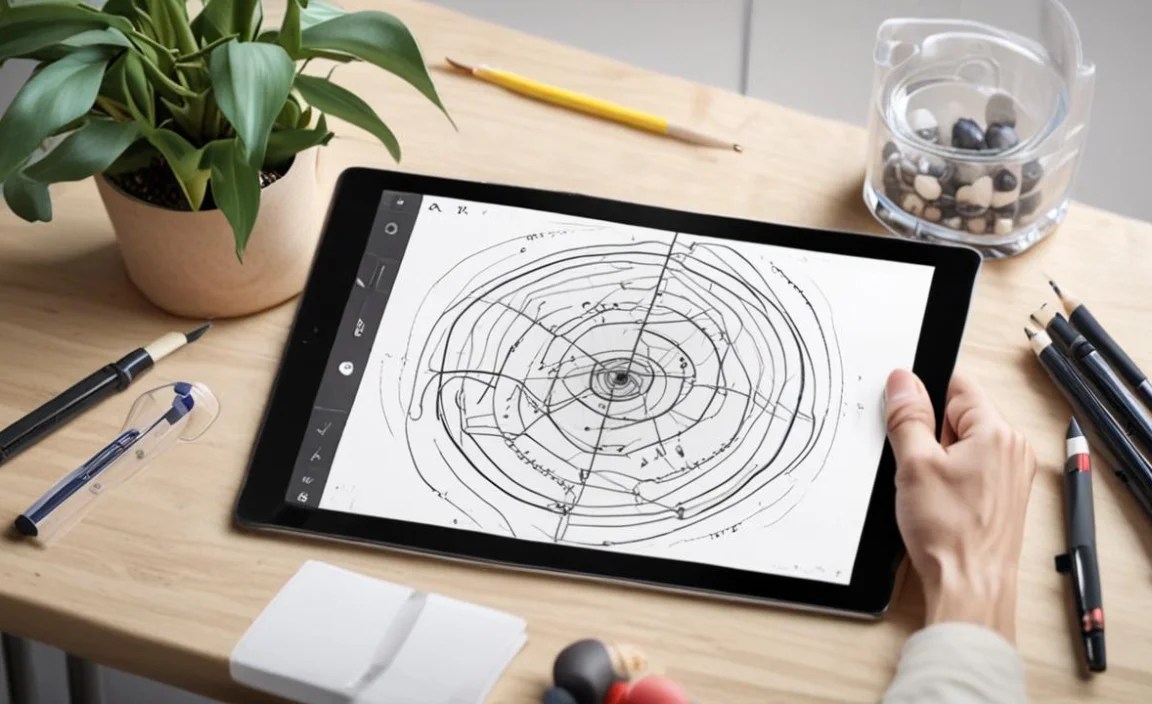
Here in this article, I’m going to describe how to set up Huion tablet. To use it, all you need to do is to connect it with a PC r Mac and do some setup.
You must have a good internet connection. Make sure your graphic card is connected if you are using an external one. Close all running apps and uninstall if you’ve pre-installed drivers on your PC.
Let’s explore the detailed process.
How to Set up Huion tablet?

Just as I mentioned above, setting up a Huion tablet is very easy to do. All you need to do is to follow some simple steps.
Here, I’ve divided the steps into some parts just to make it a bit easy. I’ll recommend following one by one for a successful setup.
Let’s jump into it:
Connecting The Tablet With A PC:
You can connect it with some simple wired connections. Some say it may make your PC a bit slow if you connect your tablet while installing the driver. You can connect after installation too.
Downloading the driver:
This is basically the starting of tablet setup. In this step, you’ll need to complete the following task:
- First, go to the official website of Huion by simply googling it.
- After entering the website, you’ll see the “Support” menu on the menu bar. Navigate to it.
- Inside the menu, there will be a “Download” option. Click on the option for downloading the driver.
- You’ll be redirected to a webpage where it will ask you the name of the product model that you’re using. You can search by typing the name yourself. Or you can just use the drop-down bar of the model list, and select the correct one from there.
- Then you may need to select “Windows” as the operating system and “Driver” as the file to be downloaded.
- Once you select all of these correctly, your download should start if you have a stable internet connection.
Installing driver:
When the download is completed, now you have to install the driver on your PC. First, unzip the file. Then right-click on your mouse and select “Run as administrator” from the menu.
From now on, the visual interface may change a bit with the version of the driver you’ve downloaded. Generally, you will download anything from versions 12,13,14,15. In spite of some little interface variations, most of the steps and instructions will be the same.
So, just follow these steps to perform the installation.
- Close the anti-virus that is running on your PC before approaching the setup.
- Also, make sure that no drawing app is running. Otherwise, it may affect the installation process.
- Click the install button to proceed. This button may vary with the downloaded driver versions. But it works similarly.
- You may need to select the “Confirmation of agreement” button for proceeding to the next step.
- It may ask for the installation path or the folder you want to install the file. I would suggest to chose the default.
- Confirm the installation and it will be started.
- Once done, click finish and launch the app.

Setting Up The Tablet Interface:
The next step is setting up the tablet interface just as you prefer. This graphic area may also vary with the versions you will be using. But the basic parts are mostly the same. You may see these four options in the graphic area:
- Press key: This option enables you to select or customize the keys that you may see on your tablet. You can use those keys as a shortcut. You will also be able to assign a function to the tablet key from your desktop keyboard. In short, it can replace the mouse or keypad and give you flexibility while working.
- Stylus pen: Under this option, you can modify the setting for your stylus pen. You can customize the pressure sensitivity or drawing options from here.
- Work area: Here you’ll be able to select the work area for your tablet. You can also visualize it on your PC screen when you are inside this menu. For the start, you can select the default setting.
- About: Inside this menu, you will be able to export or import settings. Also, you can return back to the default setting of your tablet from this menu.
If your PC is asking for a restart, then go for it. Otherwise, once you’re all done, you can open photoshop or any other drawing app. Now it’s time to play with your tablet and pen.
Conclusion
The setup time may vary with the configuration of your PC. But generally, it takes several minutes to complete the entire process.
So, now as you know how to set up Huion tablet, it’s time to give it a try. Remember the precaution I’ve mentioned in the very first. If you’re facing issues, don’t forget to contact via mail with Huion support.
You can also look at the manual. It can be downloaded in the same manner as the driver. Just choose “Manual” instead of “Driver” and there you go.
Your tech guru in Sand City, CA, bringing you the latest insights and tips exclusively on mobile tablets. Dive into the world of sleek devices and stay ahead in the tablet game with my expert guidance. Your go-to source for all things tablet-related – let’s elevate your tech experience!